
[ad_1]
Proxies are a great way to speed up editing. These lower-resolution files are generally a lot less demanding on your PC than the high-quality footage offered by modern cameras. Generally, most people will shoot in the high-quality mode and then spend some time creating proxies in their NLE before they can get started with editing.
Did you know that some cameras, even mirrorless cameras like the Sony a7S III, can actually simultaneously record proxy files in-camera? It does a lot of the hard work for you and will save some time when you get to your computer. If you want to learn how to do it check out this video by Tech Notice.
Proxy settings are very easy to find on the a7S III. In the Image Quality tab for the video mode you should just see a Proxy Settings option. Here you can turn it on and set the file format. You can choose between XAVC HS (H.265/HEVC) and XAVC S (H.264).
You’ll probably want to go with standard XAVC S unless you are optimized for HEVC playback on your PC. The reason to go with HEVC though is the higher quality. XAVC S is limited to 8-bit 720p at 6 Mb/s while XAVC HS has options for 10-bit Full HD 1080p at 9 or 16 Mb/s.
If you are shooting log and need something a little more flexible in post than XAVC HS might be a better option if you have a newer computer that offers hardware decoding. For simply getting faster editing than going with XAVC S makes more sense.
Image Credit: Adobe
The next step is actually making use of the files. This part of the video focuses on Premiere Pro. First, you have to find them. They are not in the usual “CLIP” folder where your regular footage is but they are in the “SUB” file. Here you will find clips with matched up names but much smaller file sizes.
Be careful to keep them organized. You might want to make a proxy folder inside your media folder that you used to import your footage.
Import your main files into Premiere Pro. Select all clips with proxies in the browser, right-click and find the Proxy menu. In here you will see an option to attach proxies.
You just need to select your proxy and link it up with the original clip. Sometimes Premiere won’t just automatically attach all of them, so in these cases if you have a ton of clips it might make sense to stick with your NLE’s built-in proxy options.
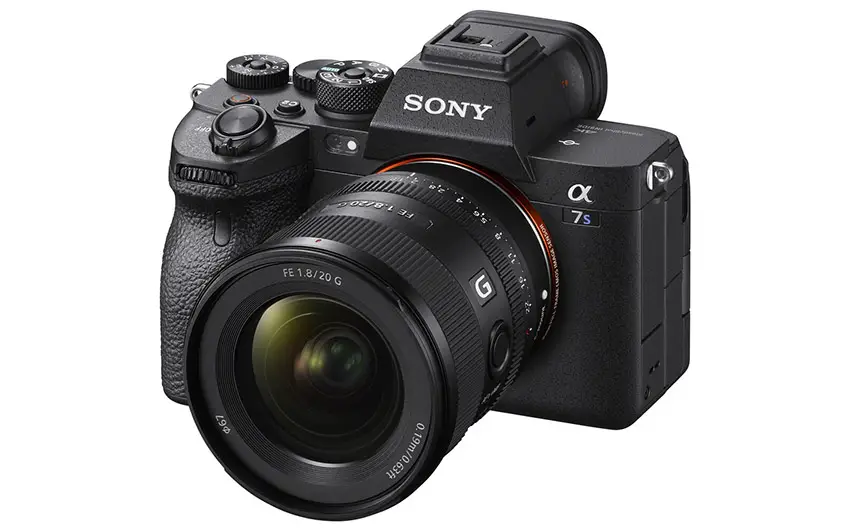
Image Credit: Sony
With the proxies linked you can head to the viewer and add the button to toggle proxies on and off. Just drag it where you want, now you can just tap the proxies button and it’ll swap out your footage automatically. You will see a drop in quality, obviously, but you can quickly toggle them on and off depending on what you are doing.
One final note is that since you are recording multiple files at once you might want to make sure you have fast-enough media. Getting V90 SD cards is the way to go or even upgrading to the extremely fast CFexpress Type A cards. If you are running into issues try a faster card.
It is nice to see things like proxies making their way into more and more cameras since they can be very helpful in post-production.
[source: Tech Notice]
Order Links:
[ad_2]


