
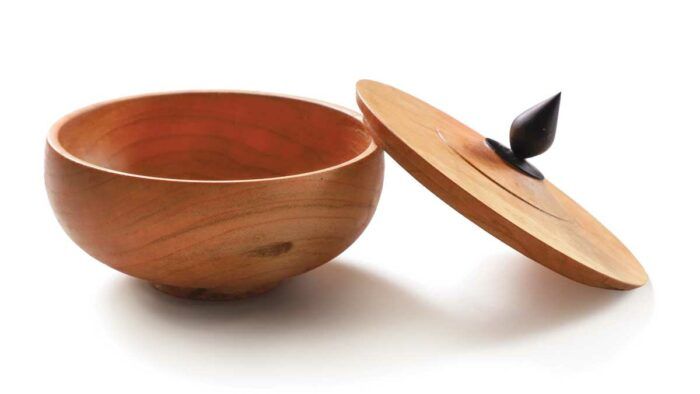
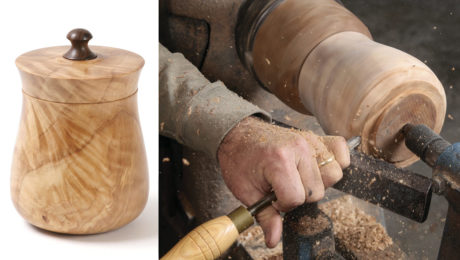
Synopsis: Matt Monaco chose cherry for this turned box because he plans for it to be well used, and cherry is both beautiful and long-wearing. The ebony finial that tops the lid adds a dramatic touch. Here, he covers shaping the outside and excavating the inside, creating the foot, making the lid, and finishing.
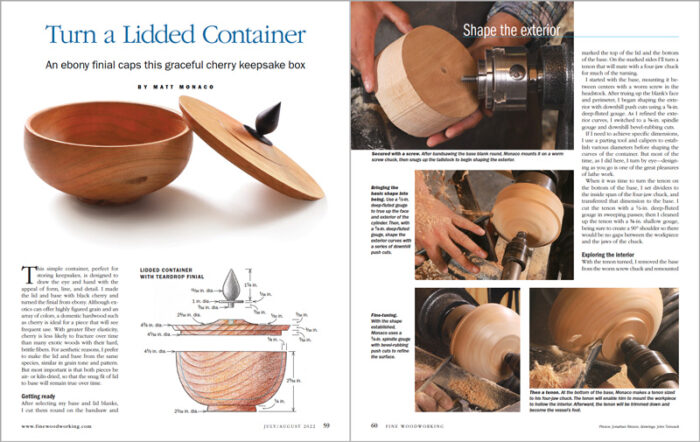
 This simple container, perfect for storing keepsakes, is designed to draw the eye and hand with the appeal of form, line, and detail. I made the lid and base with black cherry and turned the finial from ebony. Although exotics can offer highly figured grain and an array of colors, a domestic hardwood such as cherry is ideal for a piece that will see frequent use. With greater fiber elasticity, cherry is less likely to fracture over time than many exotic woods with their hard, brittle fibers. For aesthetic reasons, I prefer to make the lid and base from the same species, similar in grain tone and pattern. But most important is that both pieces be air- or kiln-dried, so that the snug fit of lid to base will remain true over time.
Getting ready
After selecting my base and lid blanks, I cut them round on the bandsaw and marked the top of the lid and the bottom of the base. On the marked sides I’ll turn a tenon that will mate with a four-jaw chuck for much of the turning.
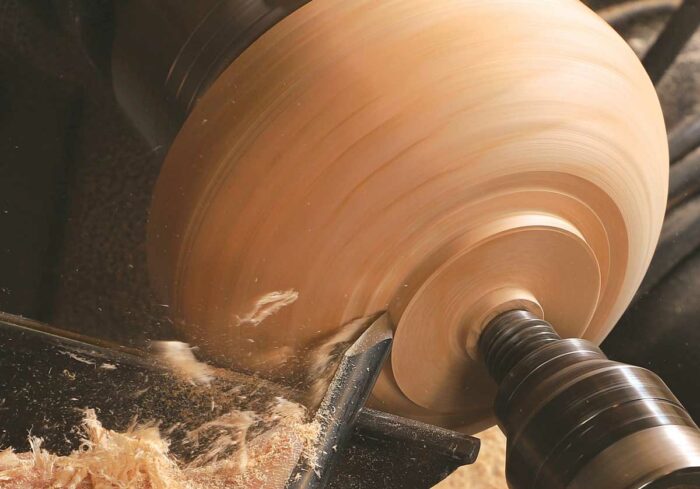
I started with the base, mounting it between centers with a worm screw in the headstock. After truing up the blank’s face and perimeter, I began shaping the exterior with downhill push cuts using a 3⁄8-in. deep-fluted gouge. As I refined the exterior curves, I switched to a 3⁄8-in. spindle gouge and downhill bevel-rubbing cuts.
If I need to achieve specific dimensions, I use a parting tool and calipers to establish various diameters before shaping the curves of the container. But most of the time, as I did here, I turn by eye—designing as you go is one of the great pleasures of lathe work.
When it was time to turn the tenon on the bottom of the base, I set dividers to the inside span of the four-jaw chuck, and transferred that dimension to the base. I cut the tenon with a 1⁄2-in. deep-fluted gouge in sweeping passes; then I cleaned up the tenon with a 3⁄8-in. shallow gouge, being sure to create a 90° shoulder so there would be no gaps between the workpiece and the jaws of the chuck.
Share the interior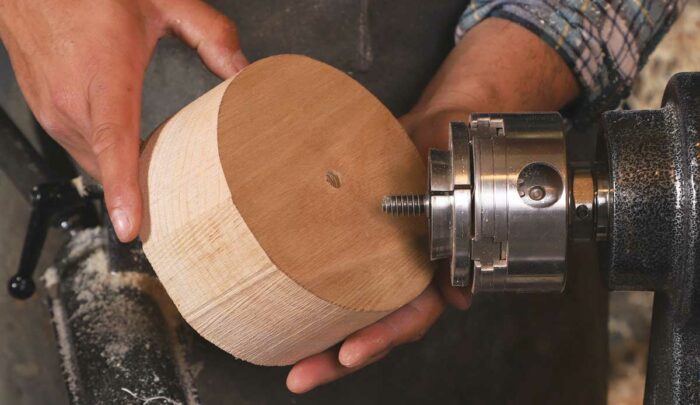 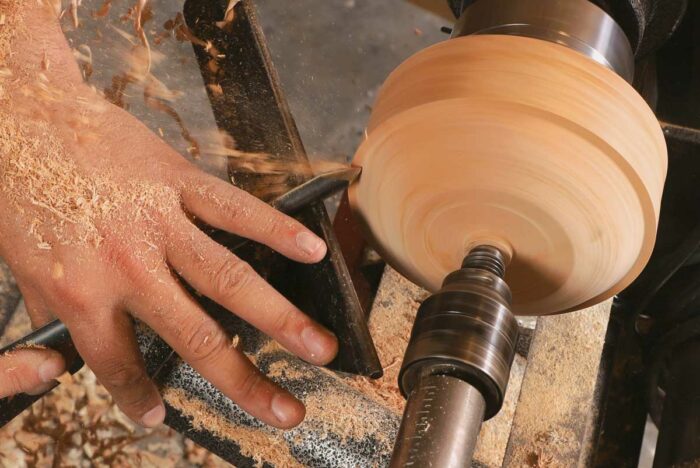 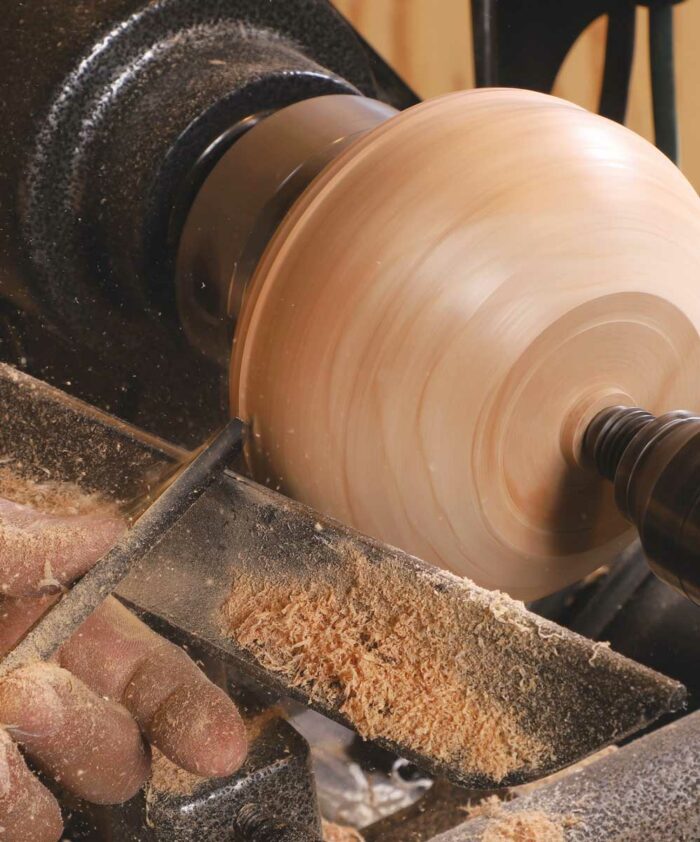
|
Exploring the interior
With the tenon turned, I removed the base from the worm screw chuck and remounted it, inserting the tenon in the four-jaw chuck. After truing the face, I drilled a depth hole into the center of the blank. I wound tape onto the bit to ensure the hole stopped 1⁄4 in. shy of the chuck’s jaws.
Next, using a 1⁄2-in. deep-fluted gouge, I took hollowing passes toward the middle of the container’s interior. As I enlarged the excavation, I made sure to retain a wall thickness of 1⁄2 in. or so. I continued refining the interior with 3⁄8-in. and 1⁄4-in. deep-fluted gouges, establishing the final wall thickness with bevel-rubbing push cuts. Then I finished hollowing the interior by making finish cuts with a 1⁄2-in. deep-fluted interior gouge, going just slightly beyond the depth of the hole I drilled.
 From Fine Woodworking #297
To view the entire article, please click the View PDF button below.
 |
Turn a Lidded Canister |
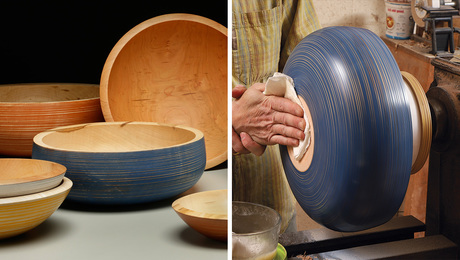 |
Add color and texture to a turned bowl |
 |
Sharpening Turning Tools |
Download FREE PDF


