
Recently I wrote an article about dovetail saw guides. So I thought it would be a good idea to do a quick blog post showing how I go about cutting a dovetail corner with the help of a guide. If I’m going to hand cut a dovetail joint that is going to be seen, I will always do something to that joint to show that I put some thought into it. I might make them proud, or use uneven spacing, or some other thing. It seems to me a great way to let the observer know that this is a special joint.
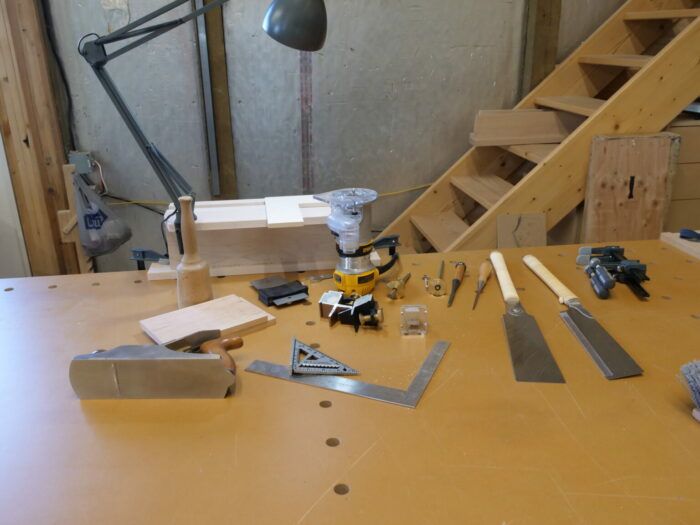
First things first things, as my 3-year-old daughter says, I get set up. I like to use a Moxon vise, with an old man light attached. I also lay out all my tools.
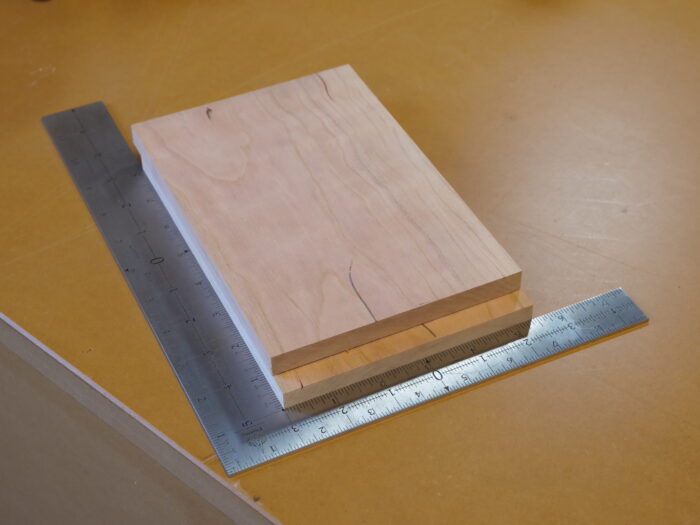
A good joint starts with stock that is nice and square.
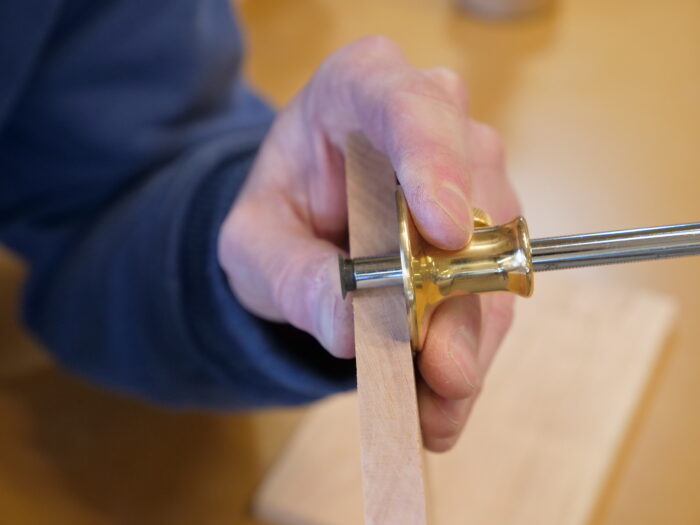
I set up my marking gauge for a cut that is deeper than the thickness of the workpiece. This will create a proud dovetail.
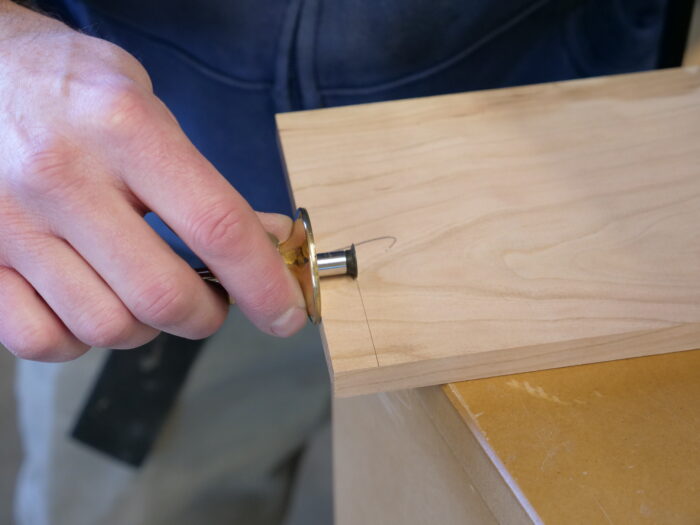
I mark the baseline.

Next is spacing. I come up with a pattern that seems pleasing. When using a dovetail guide, layout isn’t really necessary. I just need a place to show me where to start the cut.

All it takes is a few dots so I know where to place the saw.
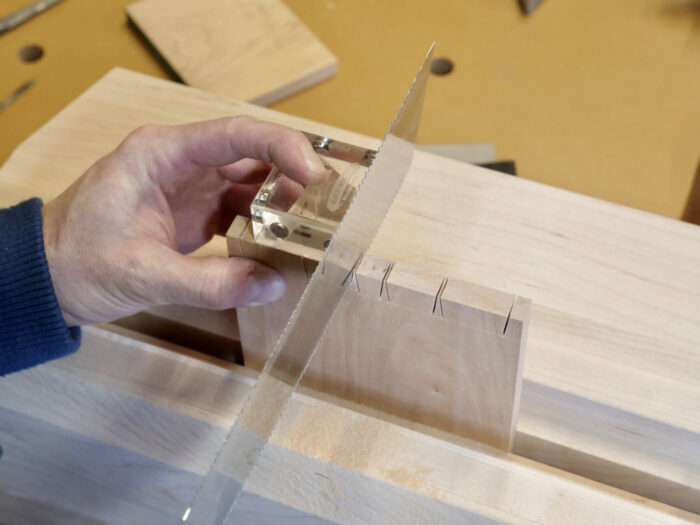
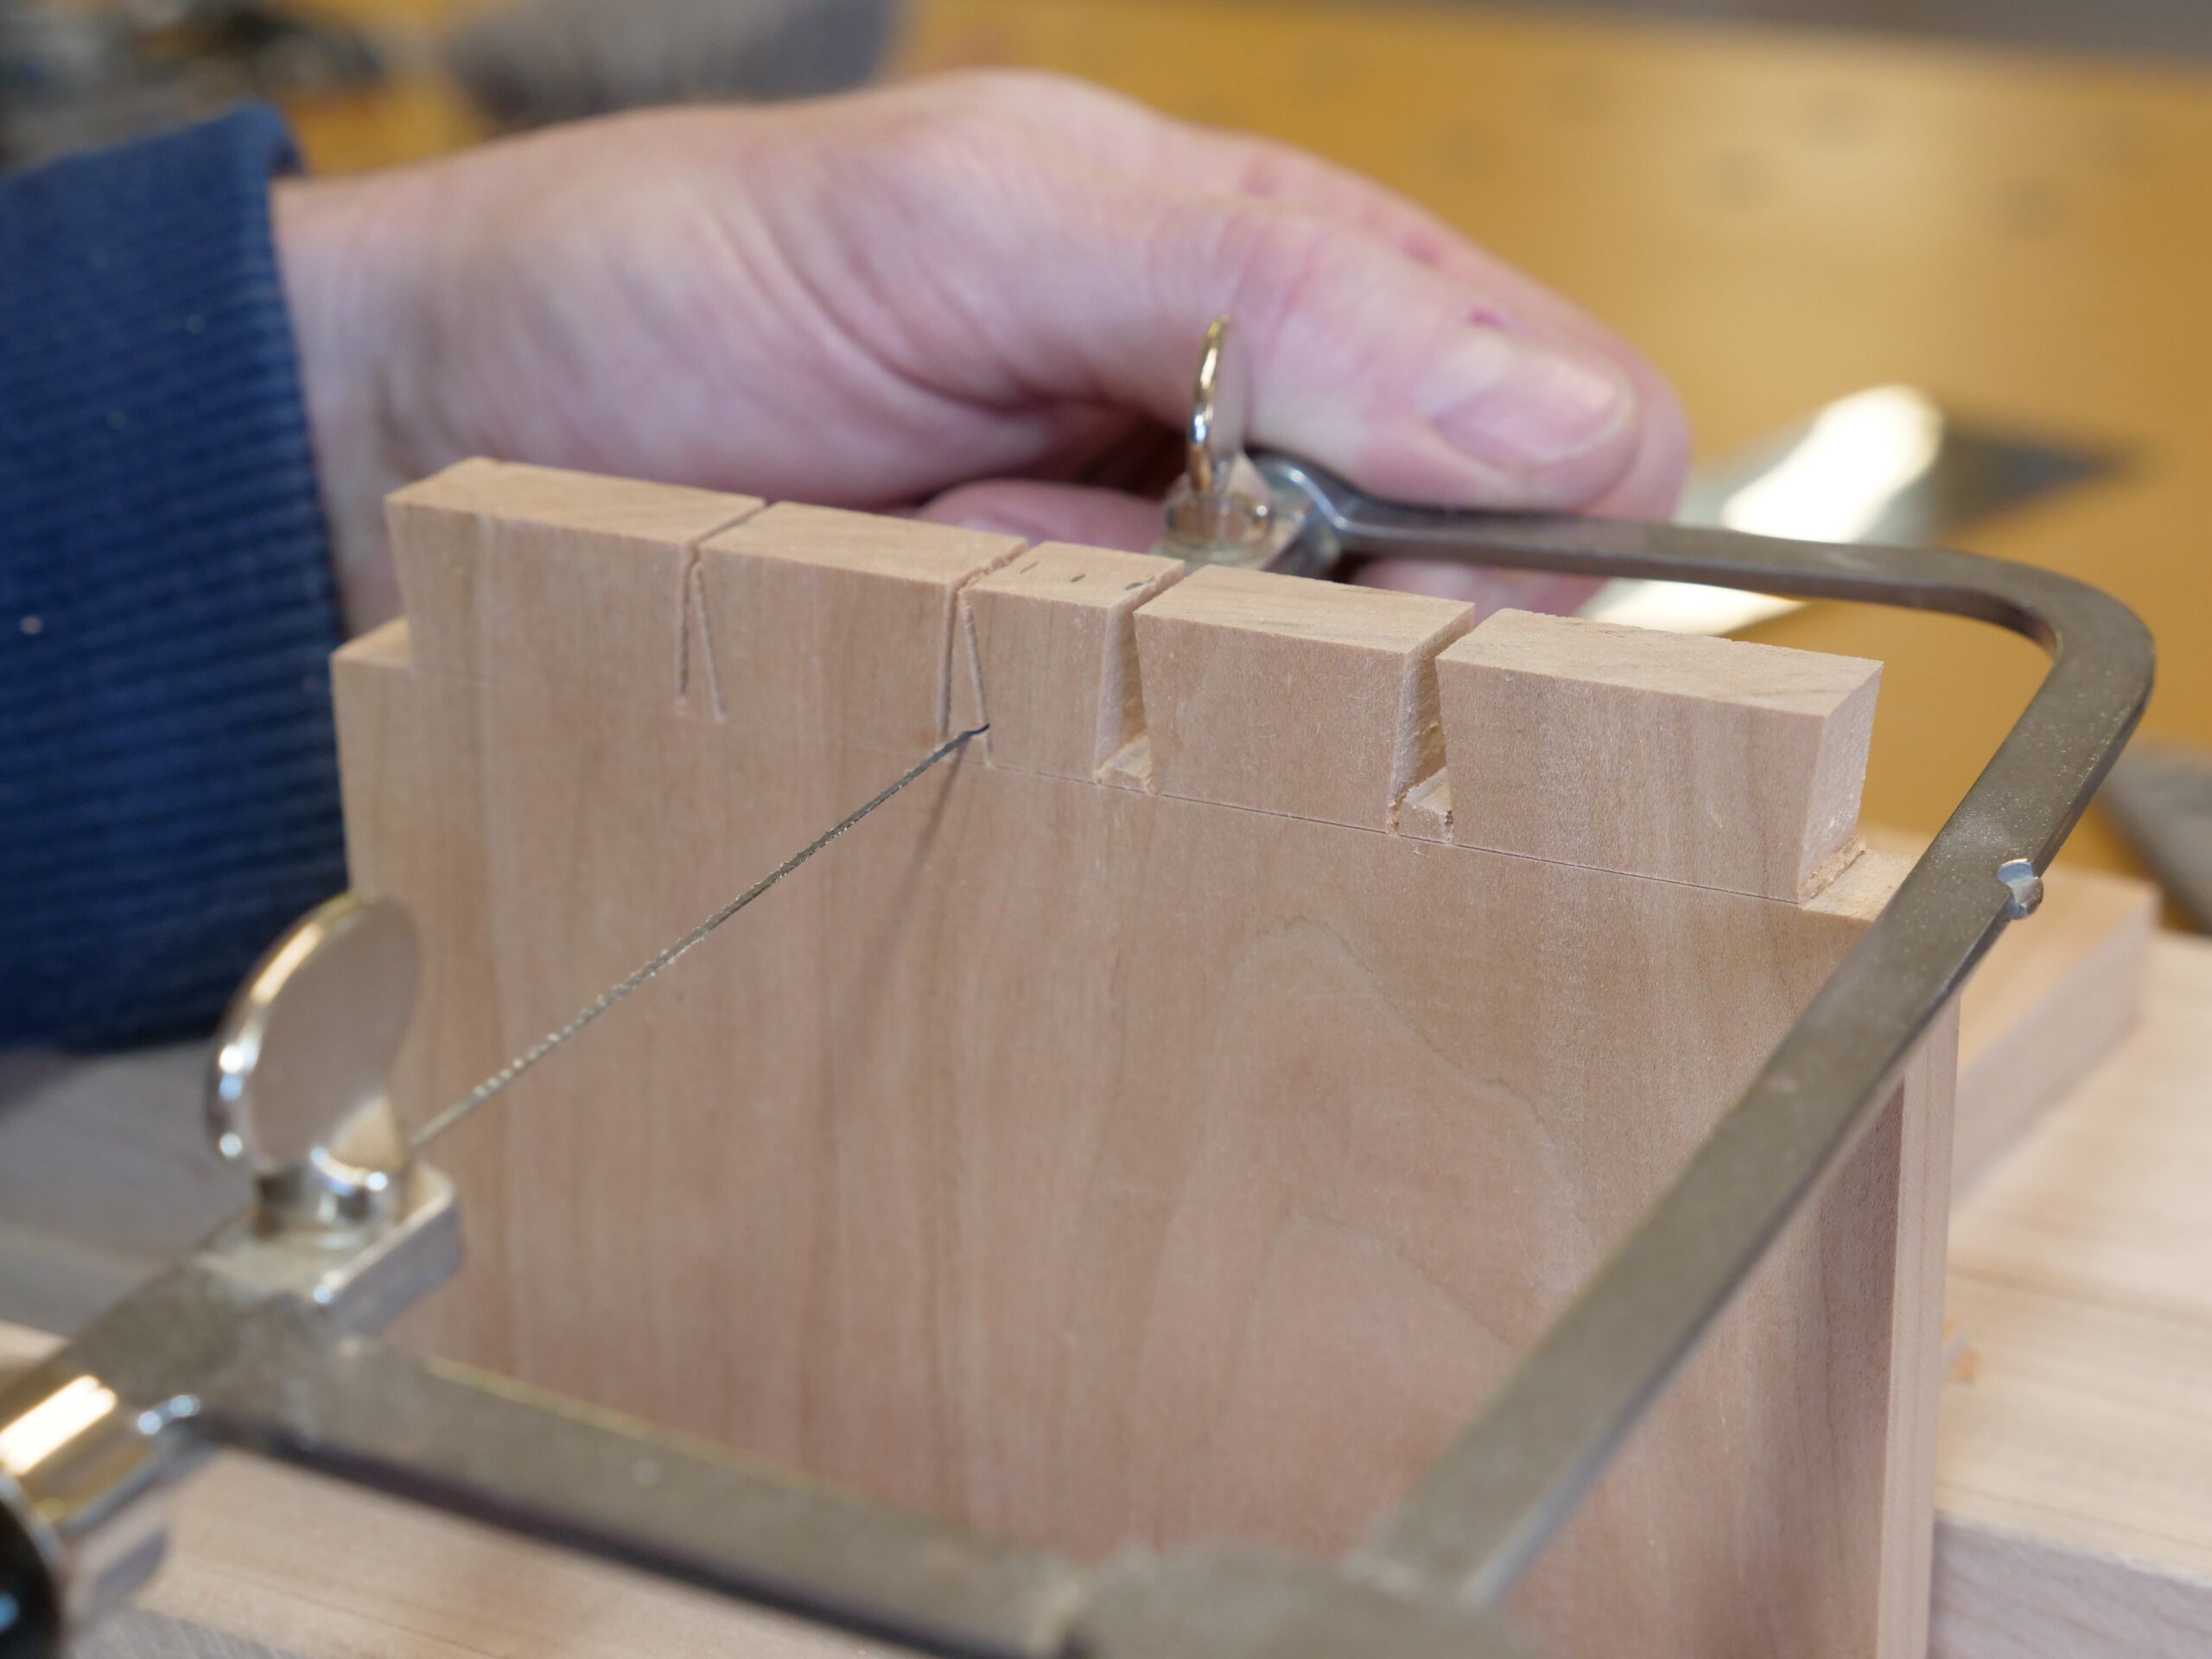
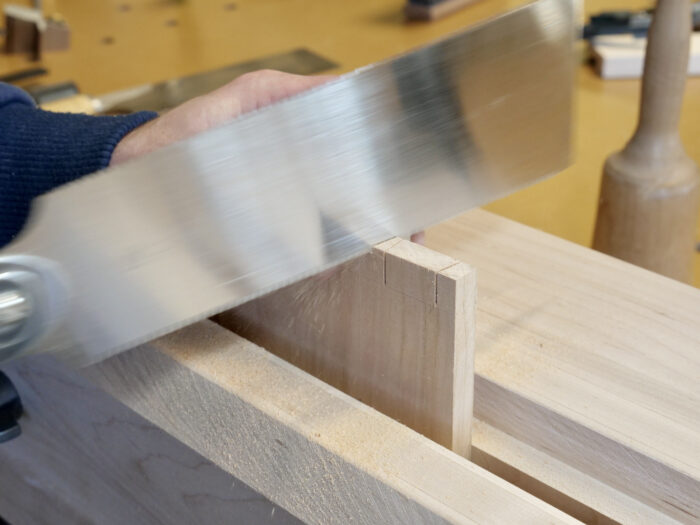
Time to cut.
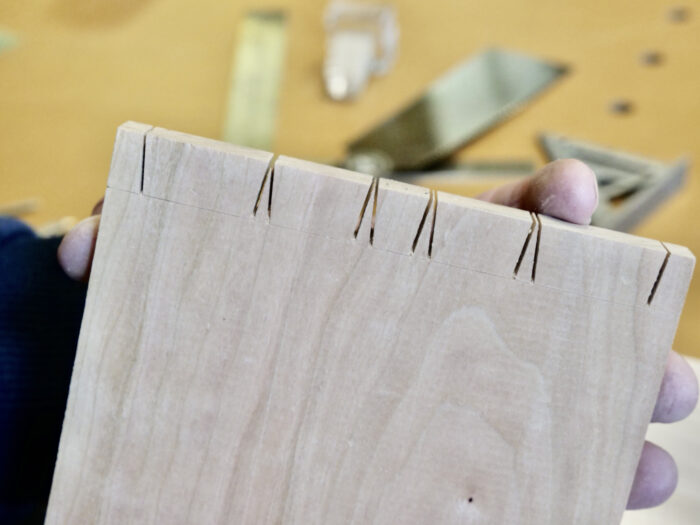
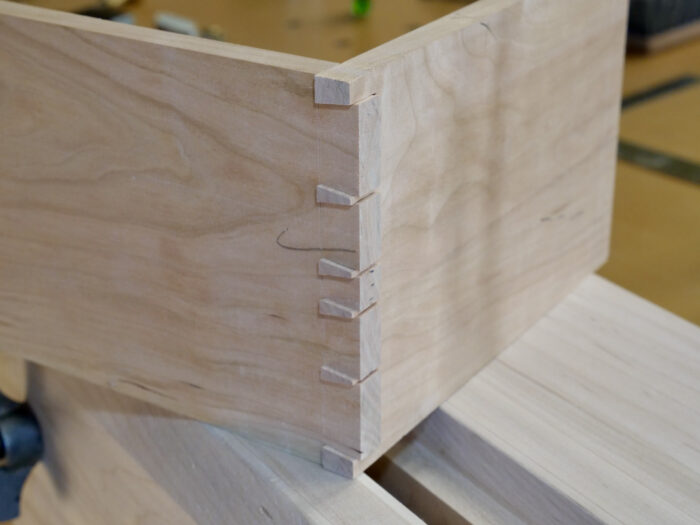
I like narrow pins. I think it’s another little detail that says the dovetail was cut by hand. Yes, narrow pins create a weaker joint, so adjust as needed for strength.
90° cuts on outside tails.
More 90° outside tail cutting. The Katz Moses jig is unique in that it has a 90° option. This is helpful for this process.
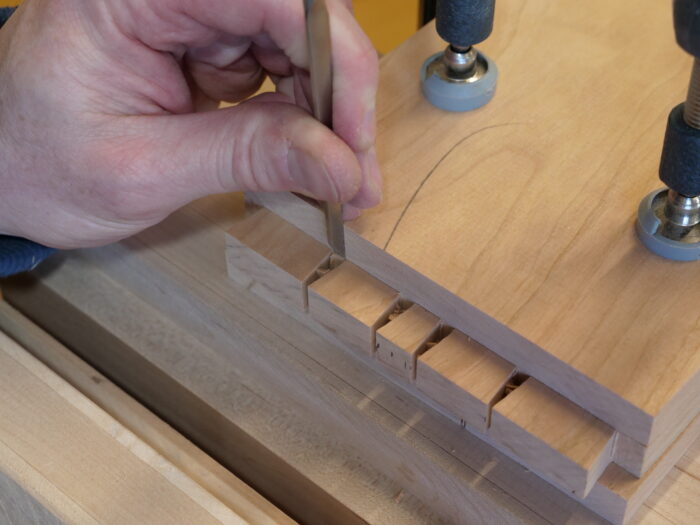
I use a fretsaw to clear the waste between tails. Similar to a coping saw, it runs a smaller blade.
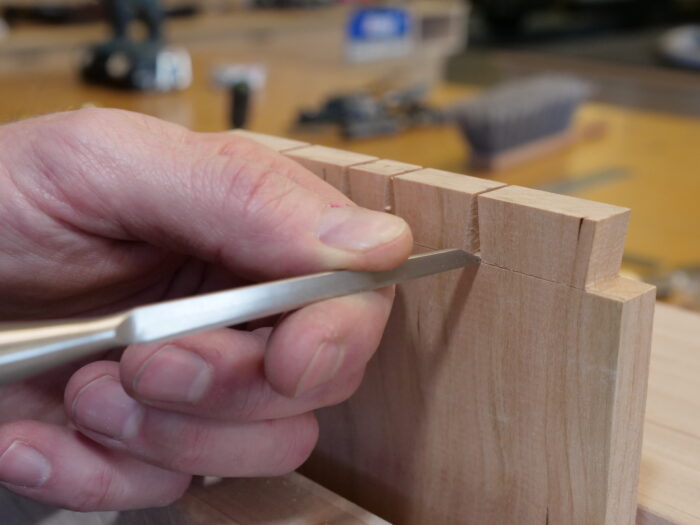
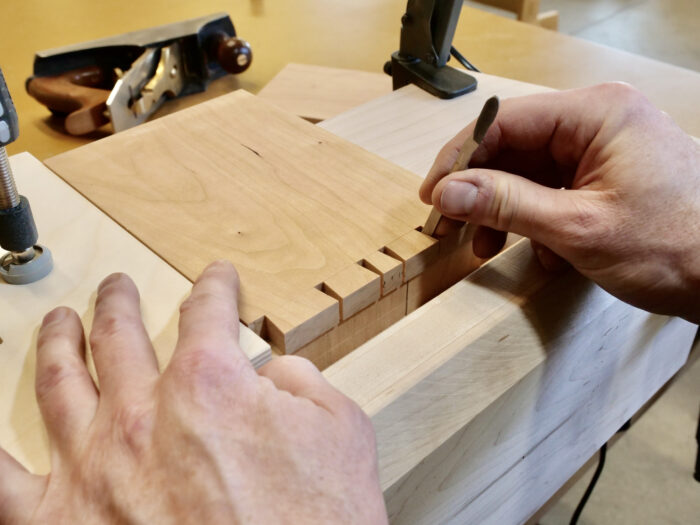
I use what will become the pin board, clamped to the baseline on the tail board as a chisel guide. This ensures that I get a good clean baseline.
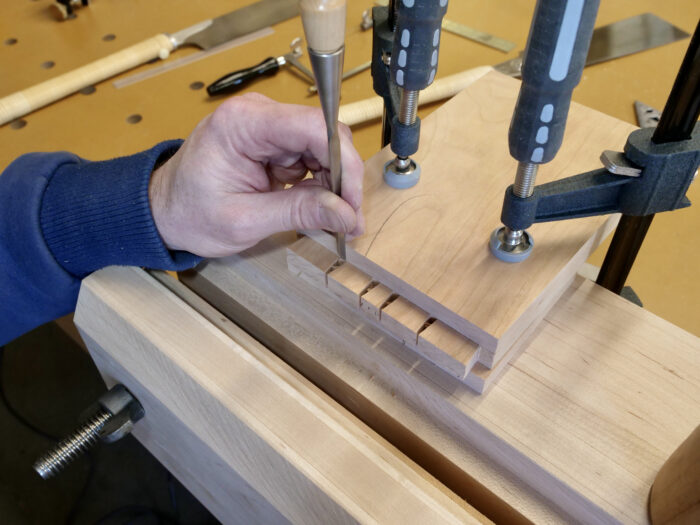
That is a Lie-Nielsen 1/8-in. chisel for reference.
I clamp the tail board in the Moxon vise for final cleaning. This is a really good position to be able to look in between the tails to clean out the last stubborn bits of gunk.
Time for pins. I clamp the pin board in the vise flush with its top surface.
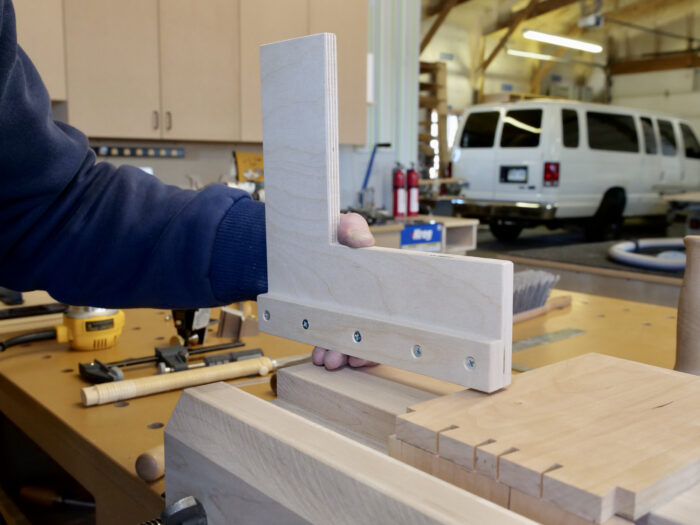
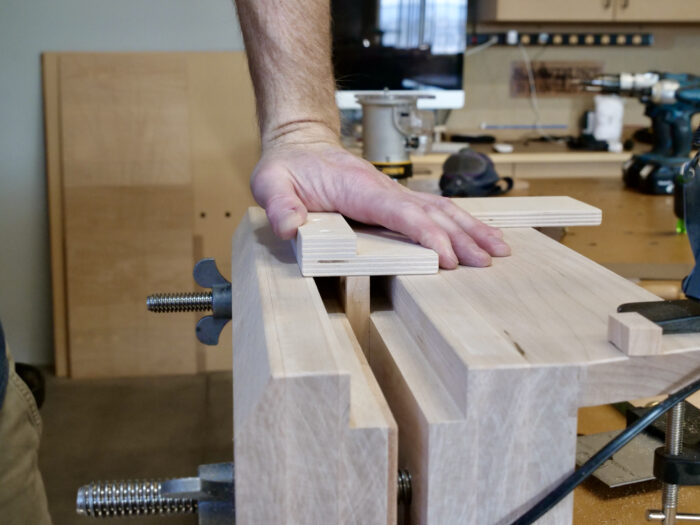
I made this little square as an alignment tool. Please note awesome van in the background.
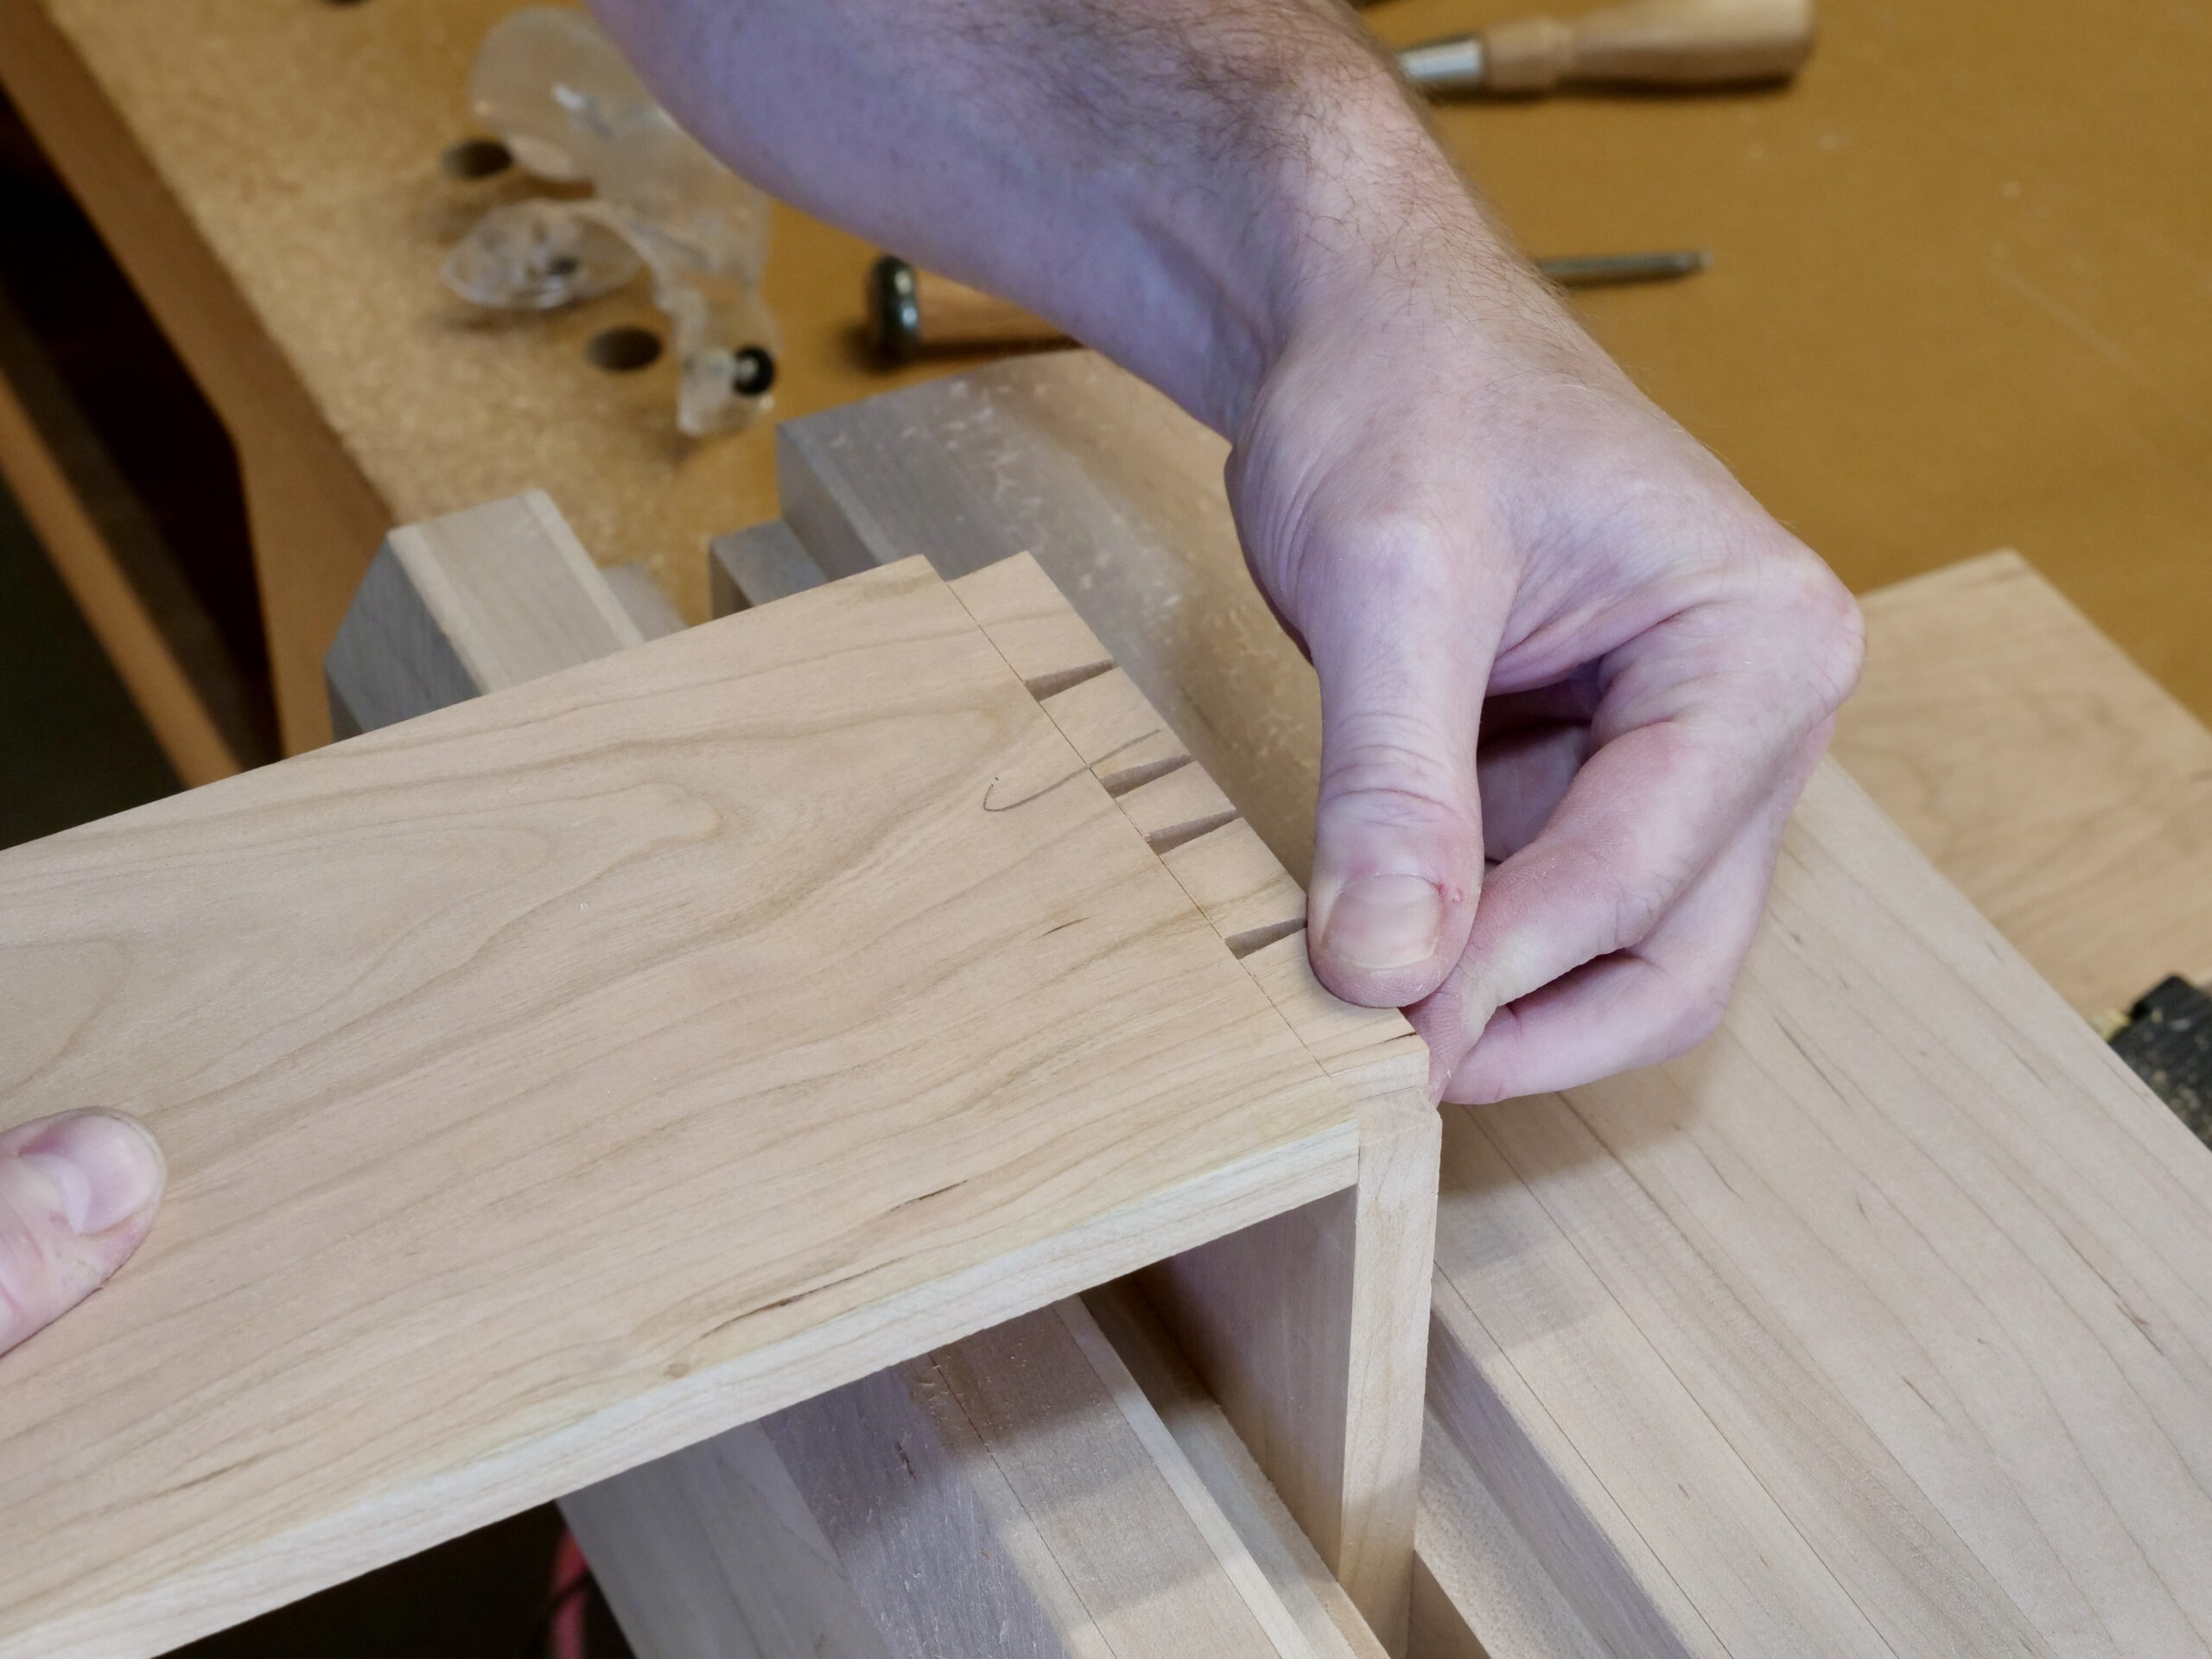
With the square clamped to the vise, I line up the two pieces so I can mark for the pin cuts.

Close-up of the alignment.

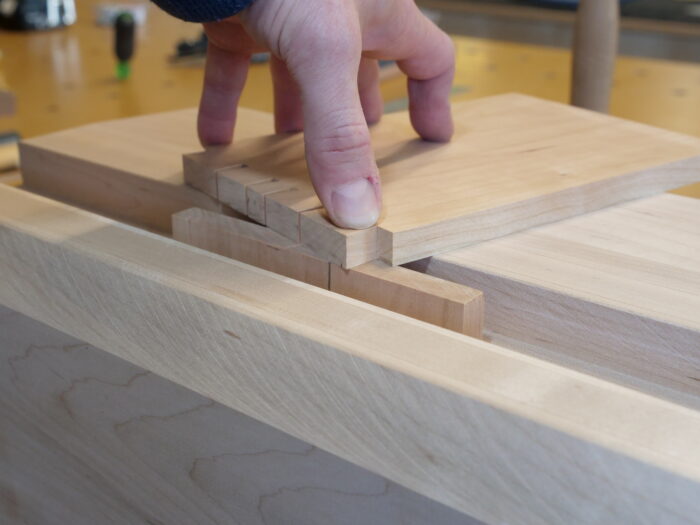
Two pieces in place ready for marking. Since these dovetails will be proud, the tail board will hang over a little. I sight down the bottom surface of the space between the tails (think sighting down the baseline) to make sure they are lined up.
Marking the pins. Yes, that is an old Bosch jigsaw blade I ground into a marking knife. I did this because most marking knives are too thick to fit in the itty bitty space between the tails.
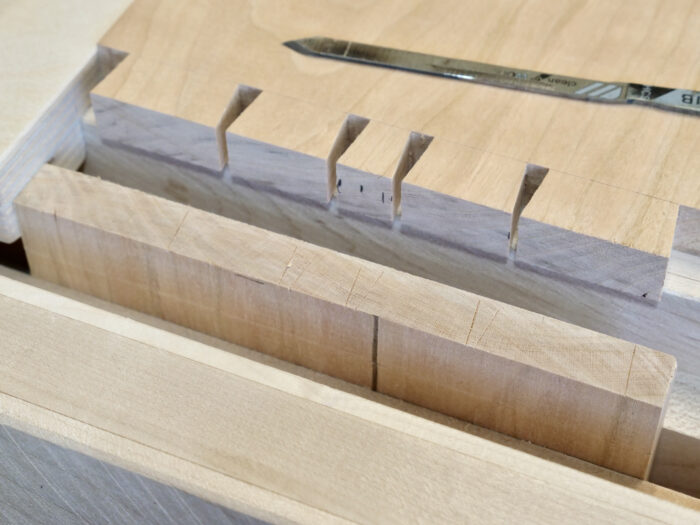
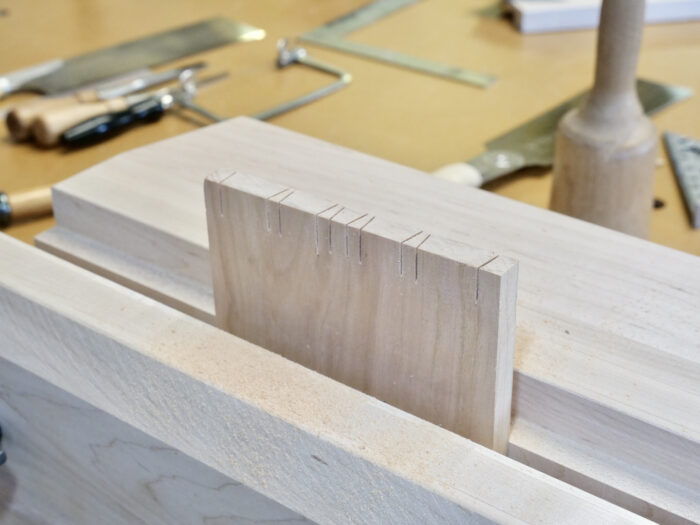
There it is, pins marked clear as day.
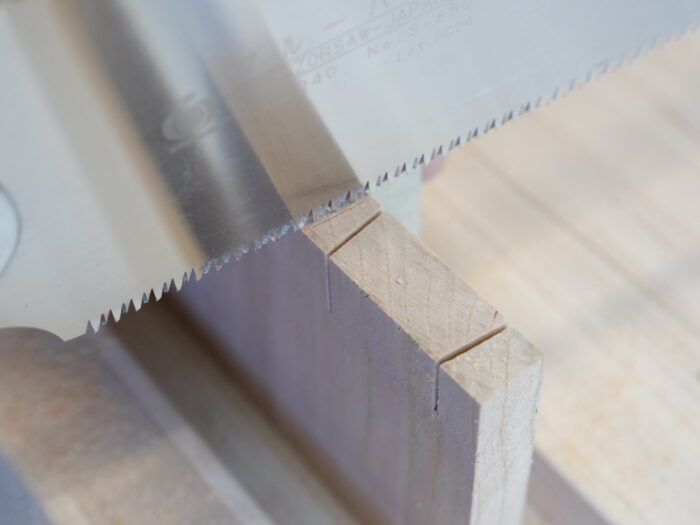
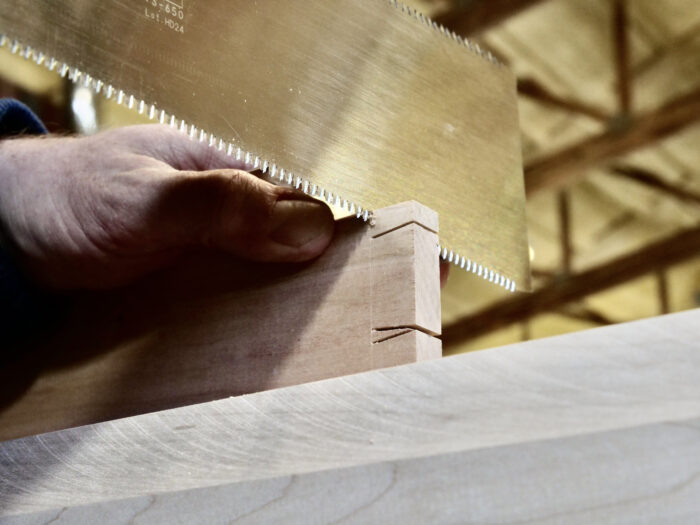
Not easy to show in a still, but I’m trying to show that it is uber critical to cut on the correct side of the marked line. Mixing this up will create firewood. I bump the saw and jig over a tad at a time until the edge of the saw tooth is sitting right in the marked line.
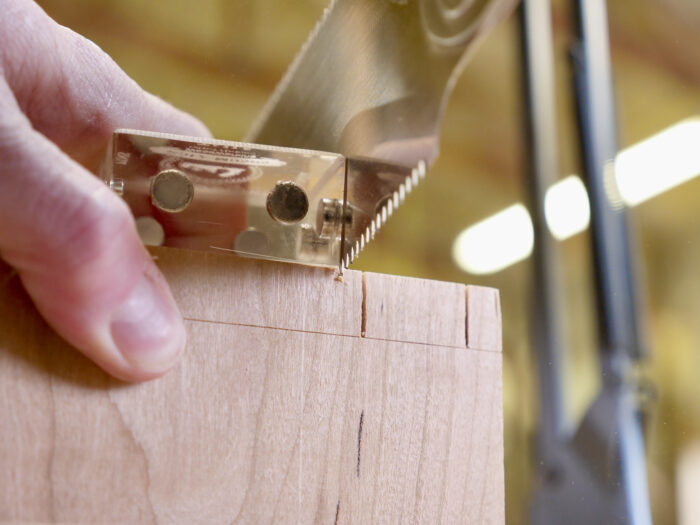
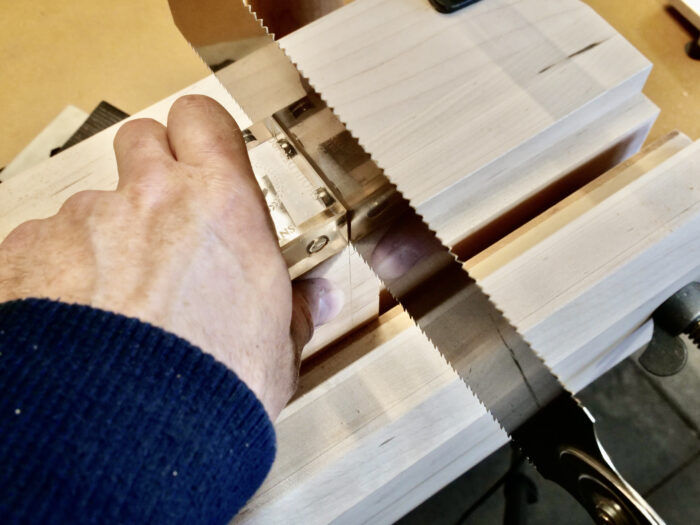
Dovetail guides cut both tails and pins.
By rotating the guide I switch from tails to pins mode. All dovetail guides have a way of doing this, either rotating, flipping, or switching sides so that all the various angles can be cut.
Action shot! Once positioned, it’s a simple matter to saw down to the baseline and no farther.
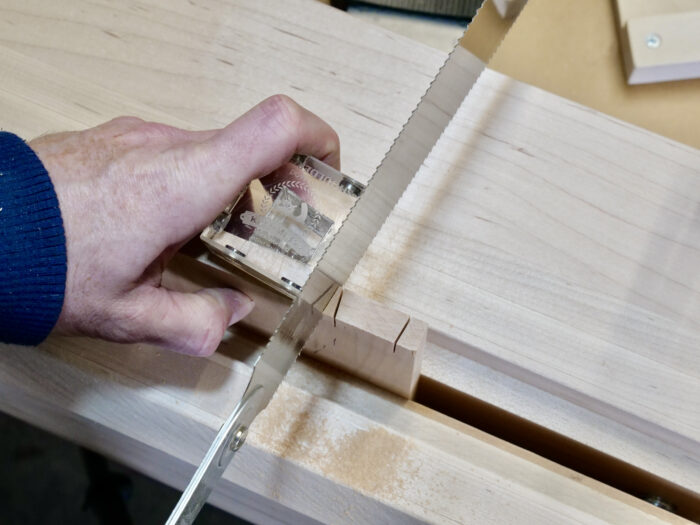
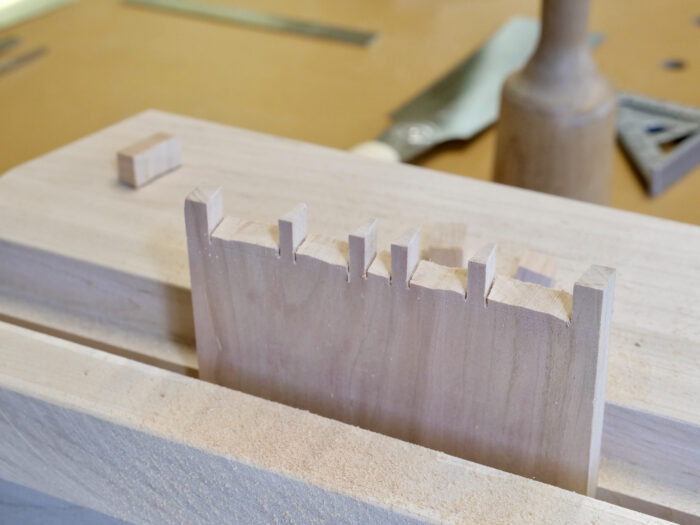
Pin sawing complete.
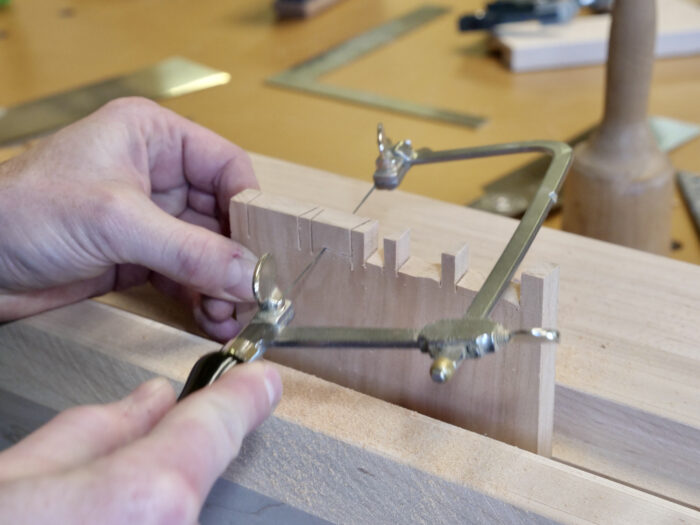
Back to the fretsaw to clean the majority of the waste.
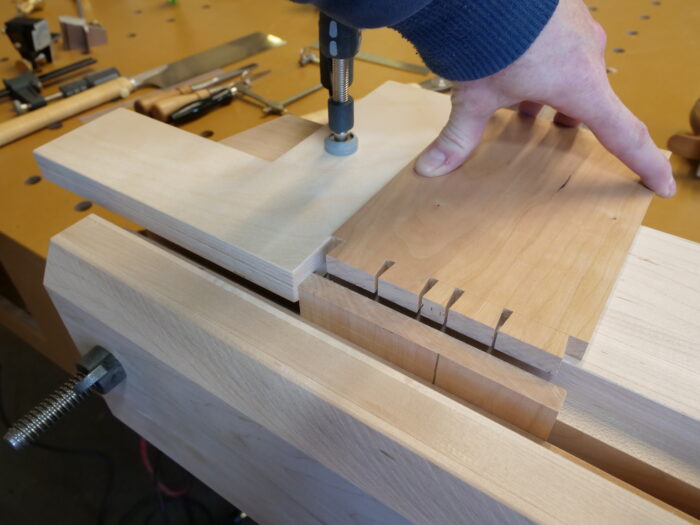
This step is needed even though I will be using a router to finish the job, because the maximum cutting depth of the tiny little router bit I use can’t remove that much material.
Once again I clamp the pin board flush with the surface of the vise.

I set the depth of the router bit referencing my marked baseline.
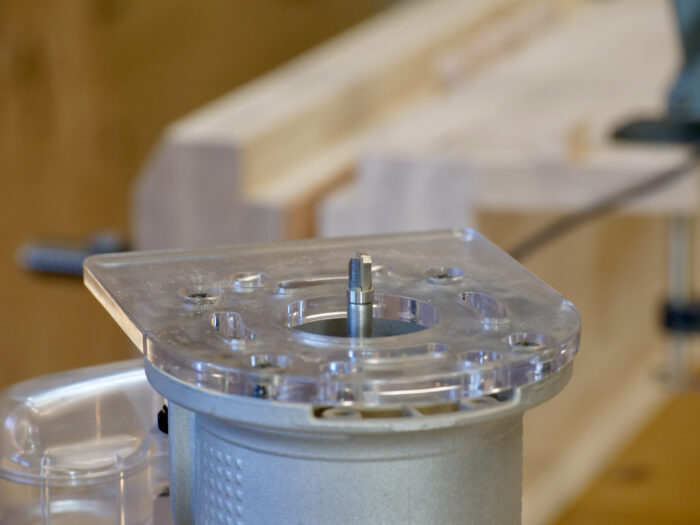
This is an Amana mini router bit. It is a top bearing, flush-cutting bit, and it is super small. It’s really the perfect bit for this application. If I was cutting really big dovetails on thicker material, I would probably upsize to a normal flush-cutting bit.
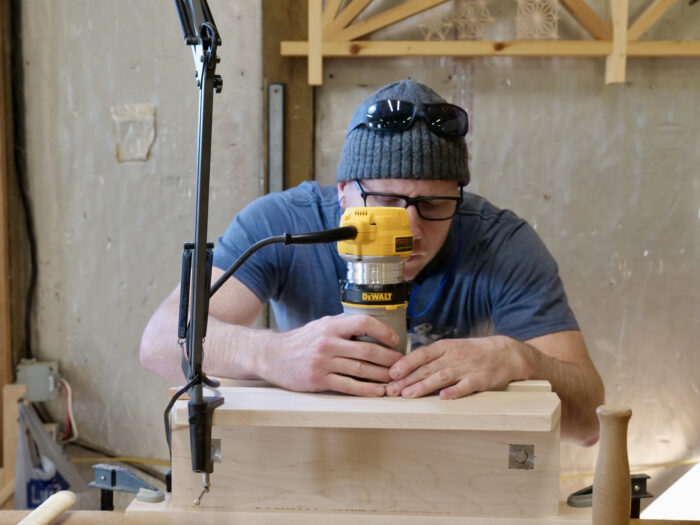
Routing waste between pins. Anyone seen my sunglasses?
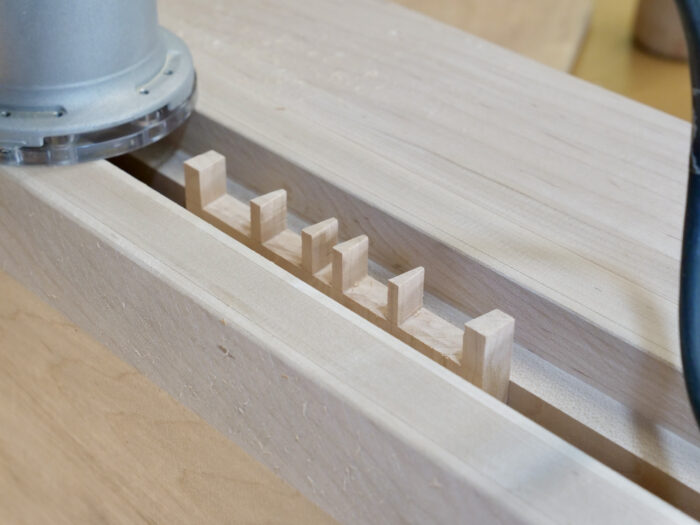
Nice end result and done very quickly.
Test fitting, not that it’s needed. We all know it’s going to fit.
And there it is, not too bad.

For some reason I like the uneven spacing.
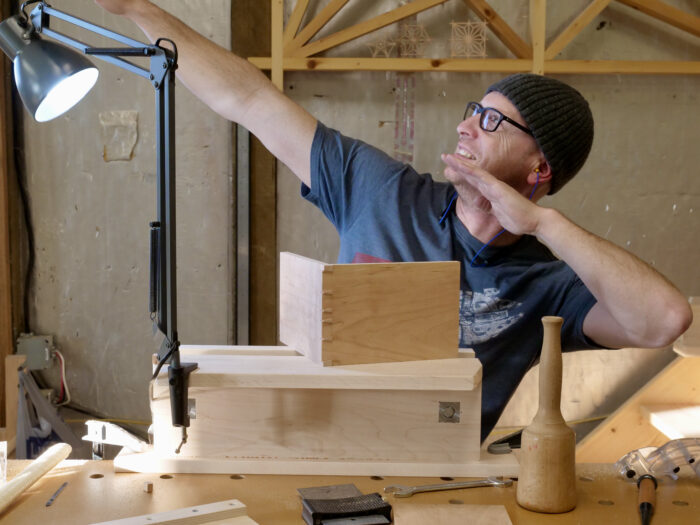
Triumphant celebratory pose. Dovetail joint complete.
It should be noted that “my” method for cutting dovetails is just a coagulation of all the tips and tricks I picked up over the years, most of which came from Fine Woodworking magazine.
Here are a couple videos to shed some more light on the subject.
Thank you for following along.
More by Mike Farrington


