
[ad_1]
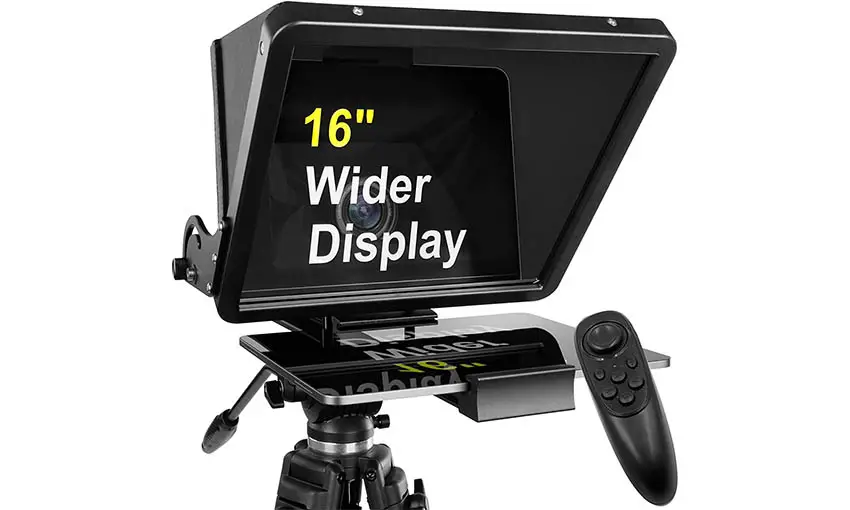
Teleprompters have become an increasingly common tool for all levels of video production. You might even want one for presentations during a video meeting. True teleprompters can be expensive and depending on your setup it just might not be worth it to do yourself. You can actually build your own with a few select pieces and a monitor or display of your choice.
Live streaming pro Alex Pettitt walks through how to set up any monitor as a teleprompter using OBS software. You’ll need a few bits and pieces to pull it all together, but this method is actually a lot easier than you would expect.
Traditional teleprompters cost a lot, even thousands of dollars. In this situation you can work with more off-the-shelf components and save a lot of money. There are still some pieces you need to acquire to get off the ground:
Feel free to mix and match these pieces as your needs and budget determine.
To start, you just need to open up OBS and check a few specific settings. Heading down to video make sure you have 1080p set as your Base (Canvas) and Output (Scaled) Resolutions. For smoother playback you can choose higher frame rates.
For the monitor situation, you can go with Alex’s pick which works well since a single USB-C cable will deliver power and the image. However, any HDMI monitor will work just fine. Just make sure to set it as an external monitor, not mirrored.
On the preview screen in OBS, right-click and under Fullscreen Projector (Preview) you can select the external display. This sets the image to be mirrored to the external monitor/teleprompter.
Making scrolling text is easy in OBS. Head to add a source and select the Text option. You can then copy in whatever text you want to use. In the properties menu, you will want to select Word Wrap and then set a custom word width based on your specific monitor and prompter size.
Now with that ready, you can right-click on the Text source and head to Transform. You can then flip horizontally and/or vertically to make it display properly in the mirror glass.
Should be looking good at this point. You can reconfigure the position and size of the text box to better fit your setup. If you are closer and want to ensure you are looking directly into the lens you may want to ensure the top line is set where your lens is.
Time for scrolling! This is actually a filter. Go to your filters and find the Scroll option. You can now set horizontal and vertical speed.
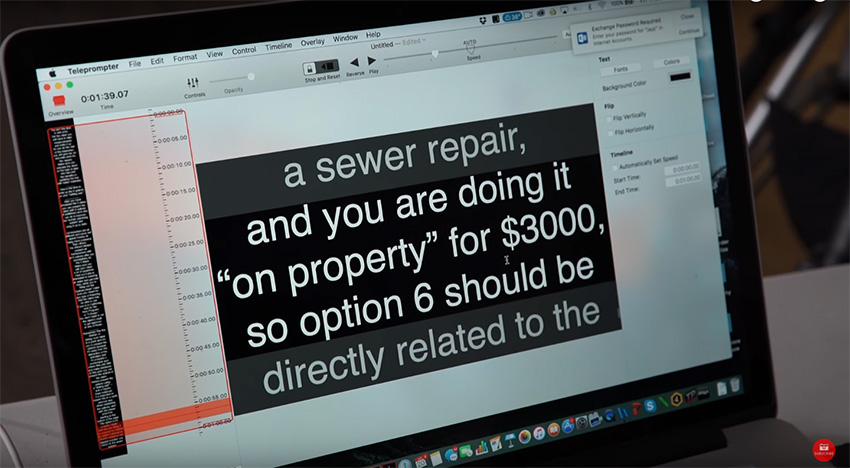
Vertical speed is what you are looking for here. The adjustments are visible in the prompter, meaning you can actually drag and make speed adjustments as you read if you hit a section you want to set to a different pace.
It’s a nice setup and actually gives you a good amount of control over the text. If you already have a few of the pieces then it makes the entire setup a lot more affordable.
Taking things up a notch is if you want to also use your teleprompter for video calls. Add another Screen to the sources and select your main display. Set it to fit the display. Now you can right-click the screen source and head to transform to do flipping to make it look right again.
Now you can do whatever you want on your computer while still looking straight into the camera. Including using video calling apps. This is great if you are using a real camera setup for your calls. It looks very professional.
Do you have any of your own thoughts or ideas for an affordable teleprompter? I think this is a nice idea.
[source: Alex Pettitt]
Order Links:
[ad_2]


