
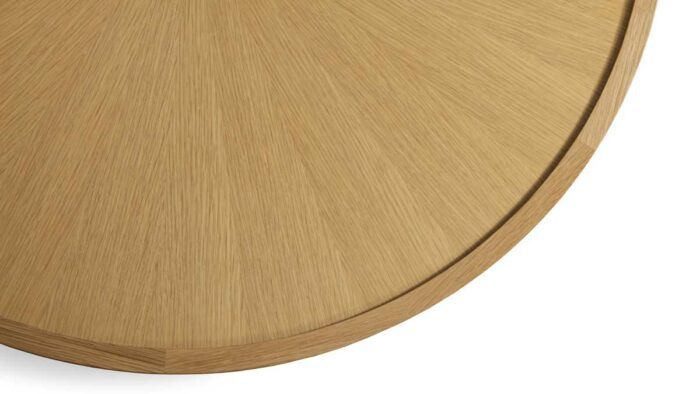
Synopsis: Wedge-shaped segments make up the veneer pattern for this sunburst table. The design lends itself to different numbers of segments, different types of wood, and different sizes of tabletop. Bruce Eaton uses a foolproof method for tackling the angles of the wedges without math, and takes advantage of templates to help with the shaping. The veneering is straightforward, too.
The few pieces of furniture I’ve made for our home have been relatively simple and quick to build. A couple of years ago, we moved into a new home and after a year or so without a coffee table, I made one based loosely on Art Deco tables with radially matched veneer and raised edging (I describe how to make the edging in this issue’s Master Class, pp. 74–80). Since making that first table in black limba wood, I’ve made a couple more versions, refining my process while testing out the look in cherry and in oak, which I’m using here.
Adaptability is one of the strengths of this sunburst design. You can vary the number of segments in the burst, the type of wood, and the diameter of the top, while still applying the methods I describe in this article. Even if you change the type of burst pattern—I use a radial burst—your approach will need only a slight tweak.
Drawing helps with angles
The veneer pattern is built up from a bunch of wedge-shaped segments that make a circle, which means angles—but don’t let that scare you. A tried-and-true method for tackling angles without guesswork is to use a drawing. With one in hand, there’s no math involved since you can just set a bevel gauge to the drawing.
To start, draw the tabletop on MDF or paper and use a compass to step off the segments around the perimeter. The top veneer comes together in two half circles, so you’re shooting for an even number of segments. To make them narrow enough to fit within the width of my quartersawn veneer, I ended up with 26 segments. You may require a different number of them.
Start with the segments
I like to use quartersawn veneer with a consistent grain. This lets me slip-match my segments for a radial burst. If you book-match your veneer with matching grain at each joint, purchase enough sheets (plus a couple extra) so you can use the same part of each sheet for each segment. With my table’s slip-match and straight grain, matching is almost guaranteed.
My tool kit for creating the segments is minimal. To lay them out, I use a wedge of plywood trimmed to their size. To cut them out, I grab a veneer saw and a couple of important helpers. First is a straightedge that keeps my saw in line and the veneer flat. Second is a backer board, which helps protect the bottom face of the veneer.
Create the segments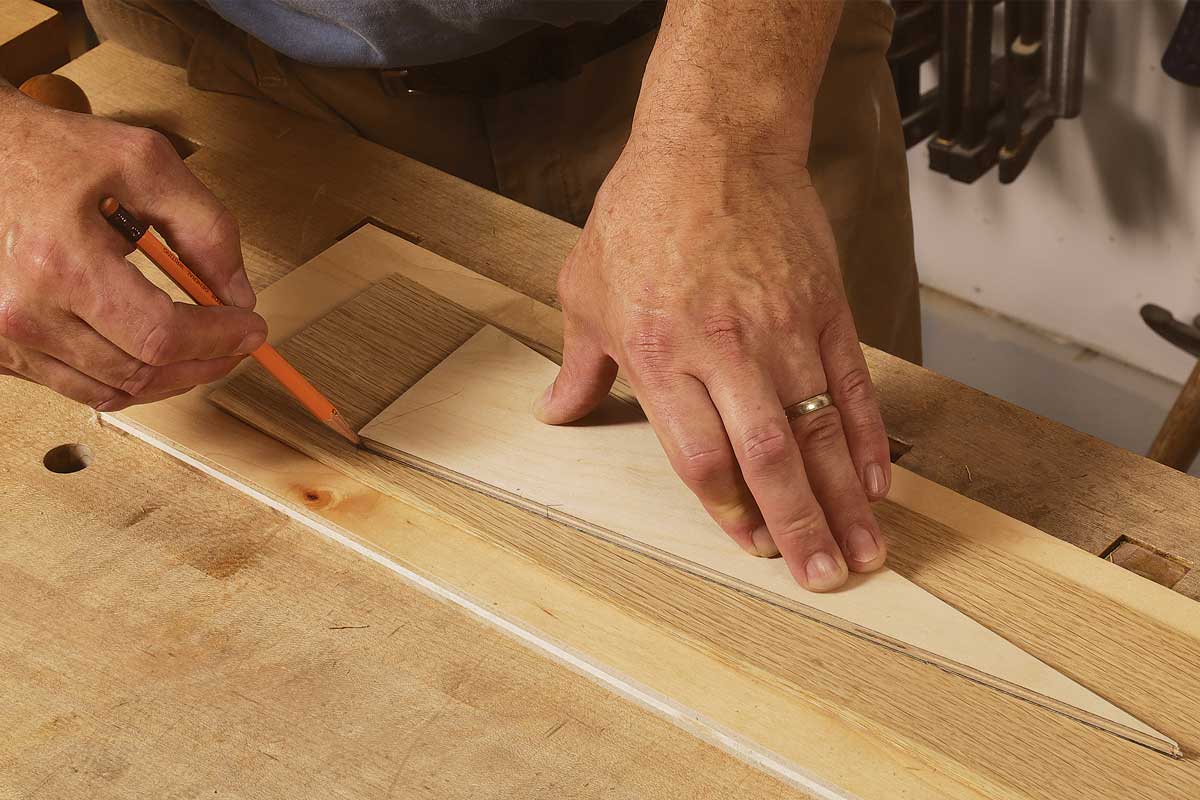 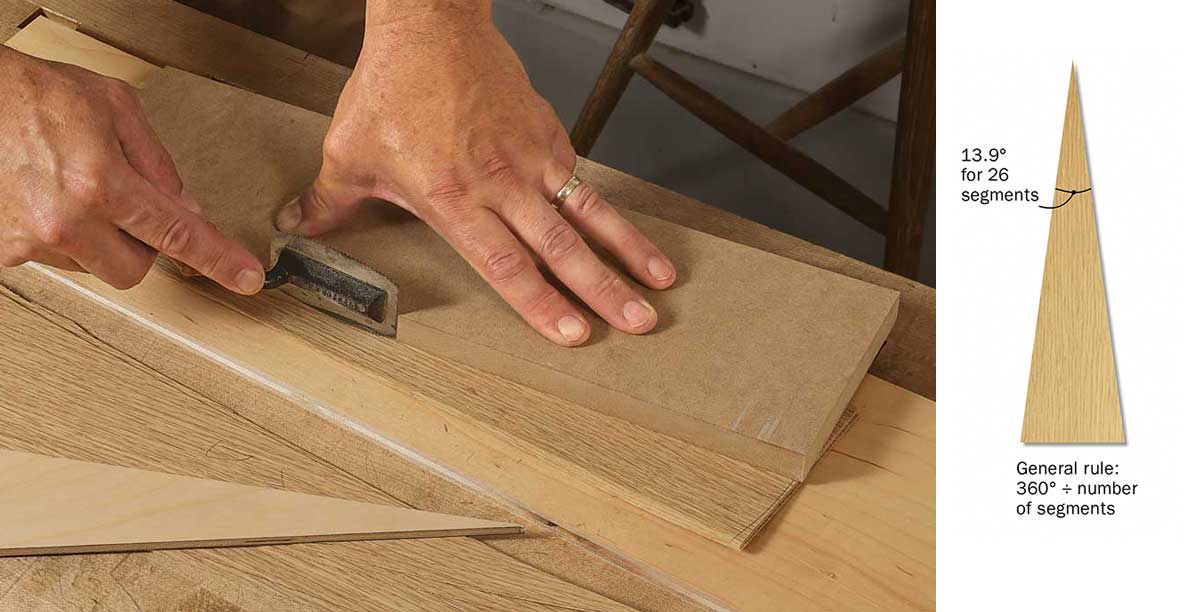 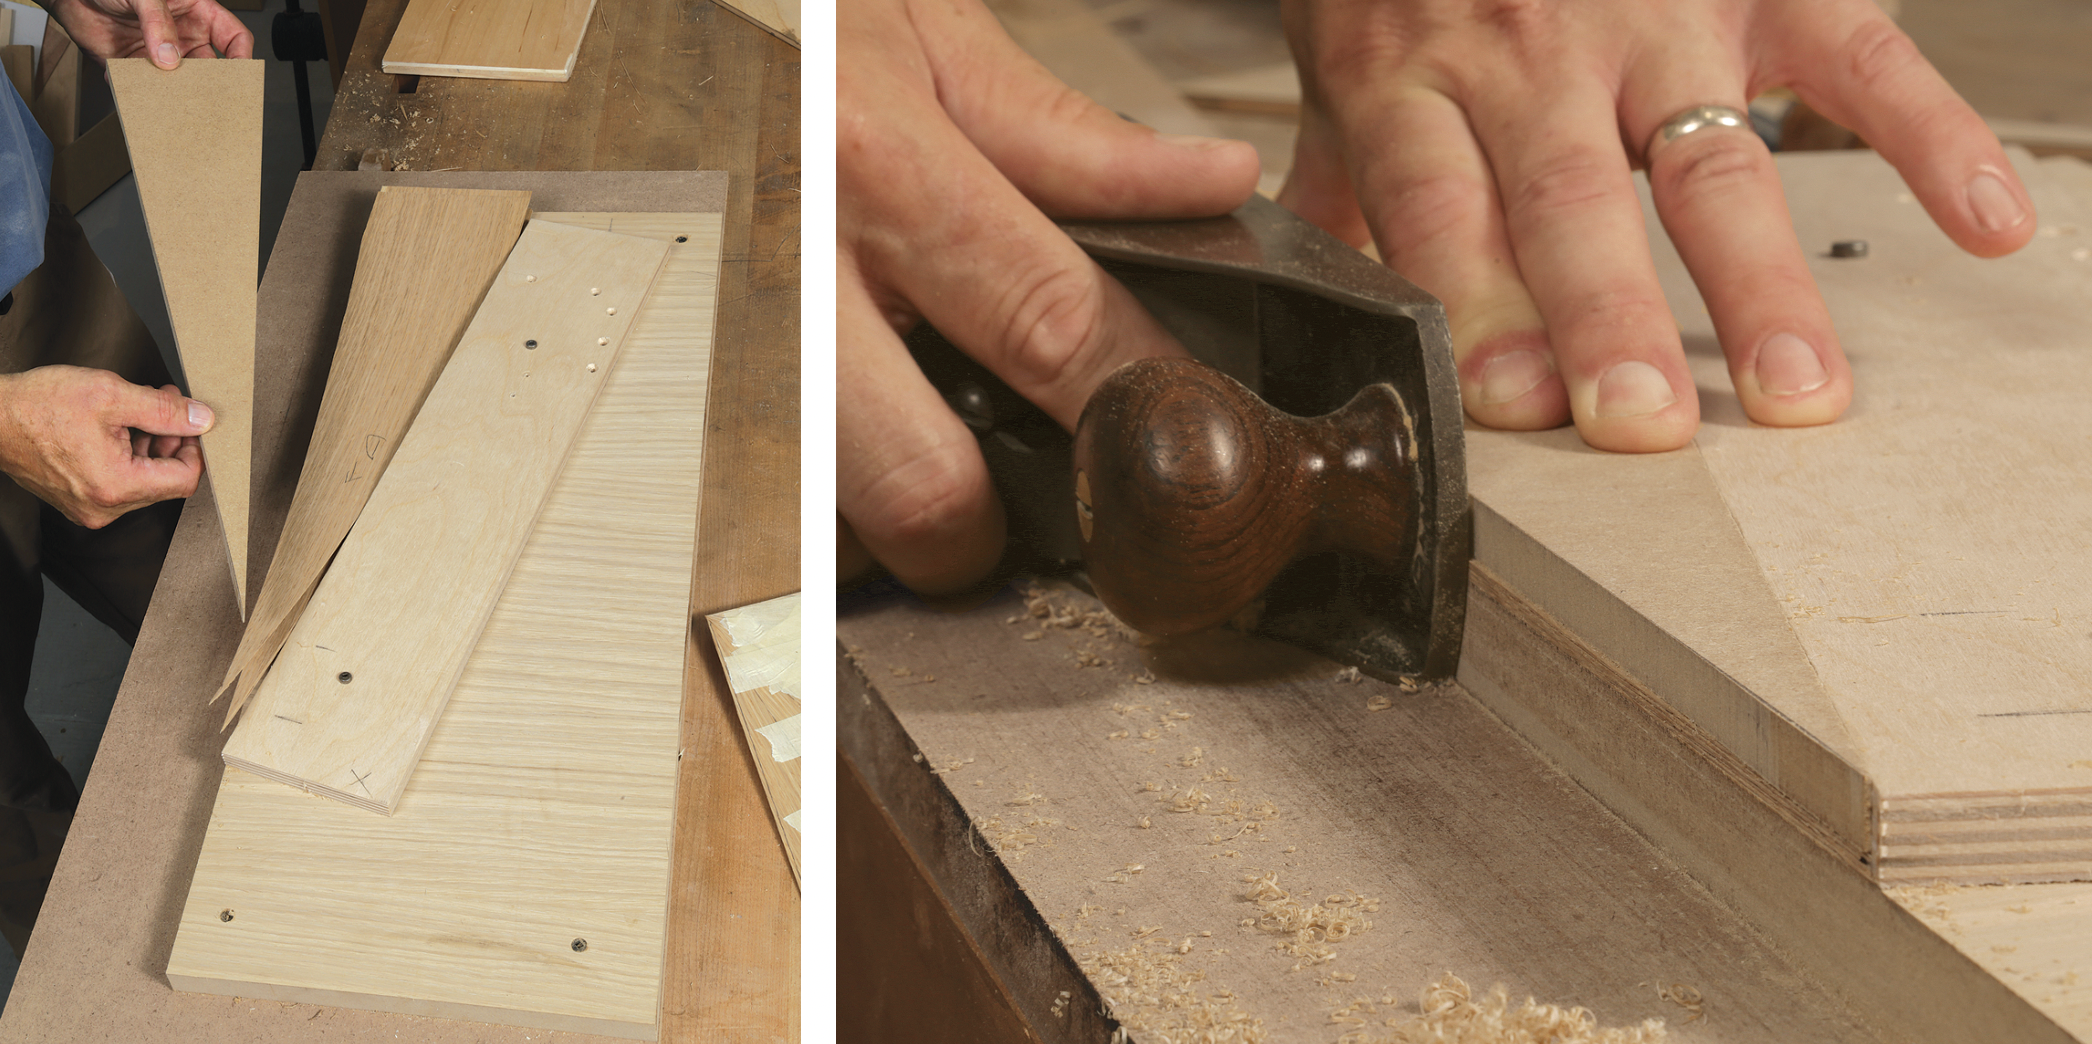
|

Tape the veneer twice
With the pieces cut out, joint their edges and assemble them into half circles. I joint them using a handplane and a dedicated shooting board that has a fence screwed down at the angle of the segments.
To create the half circles, first use masking tape to attach the segments on their back faces. Later you’ll add proper veneer tape to the front, but the masking tape holds the assembly together until then. Stretch the masking tape over the joints to keep the seams closed. Before taping the two half circles together, saw off any extra from each semicircle and joint their mating edges. Add masking tape to the back when you’re finished to complete the circle.
 From Fine Woodworking #297
To view the entire article, please click the View PDF button below.
Download FREE PDF


