
[ad_1]
Last Updated:
If you’ve been getting further and further into Elden Ring, you may have come across some of the mysterious towers dotted around the landscape. These places are typically interesting puzzles that task you with finding three spectral turtles so that you can gain access to the tower’s rewards, but they’re not always so out in the open as you might like. That’s where we come in. This Elden Ring Mage Tower guide will teach you exactly how to get into all of the mage towers (that we’ve found so far.)
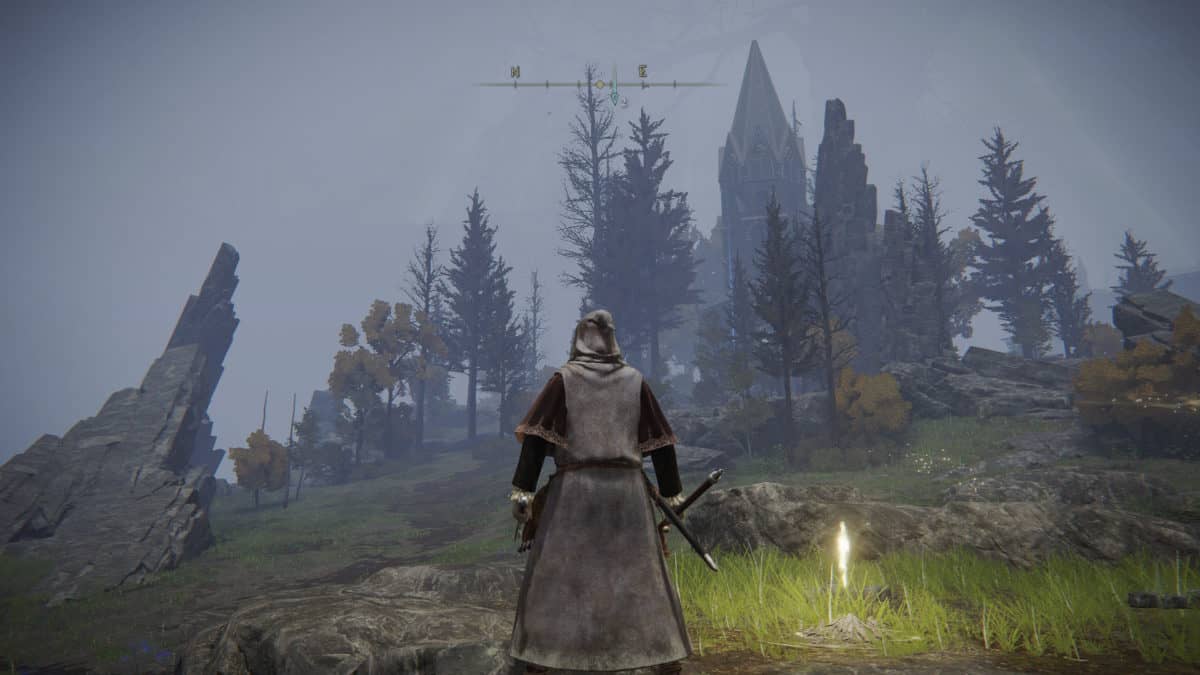
Weeping Peninsula Mage Tower – Oridy’s Rise
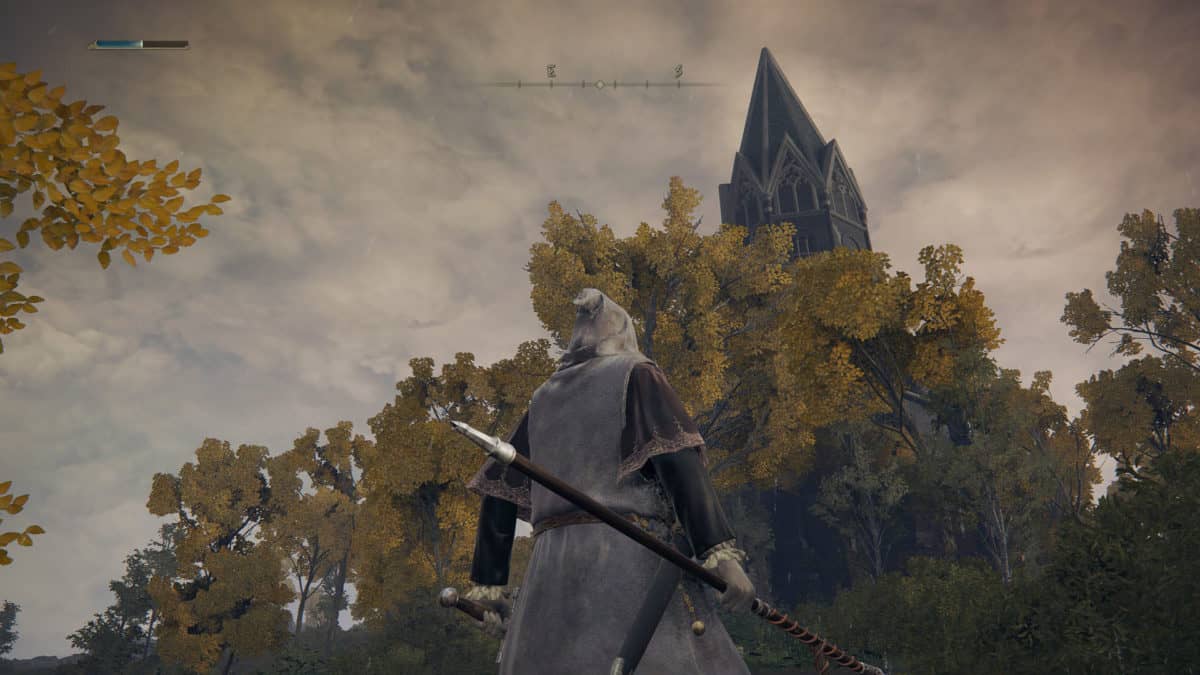
This is probably the first mage tower you’ll come across in the game, assuming that you’re not going completely out-of-order with the areas. You can reach it by heading down the Weeping Peninsula until you hit the Castle Morne Ramparts point of grace. From here, look to the east to see a jetstream that you can use to get onto the nearby cliff. Use spirit to get to the top and you should see the mage tower just ahead of you. Make sure you kill all of the nearby wolves. They’re weak enemies, but in groups can be deadly if you’re at lower levels. Then read the book and we’re good to start.
1st Turtle
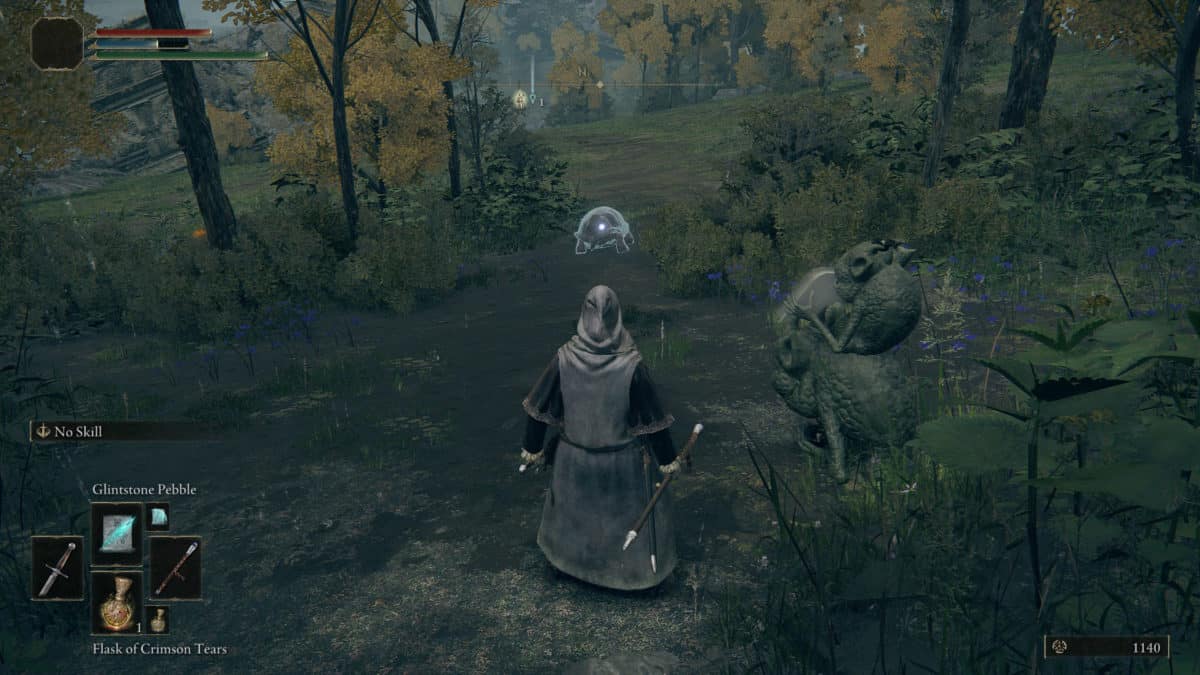
Once you’ve read the book, immediately turn around and you’ll see the turtle wandering around. give it a whack with your weapon or blast it with your weakest spell and you’ve got the first one done.
2nd Turtle
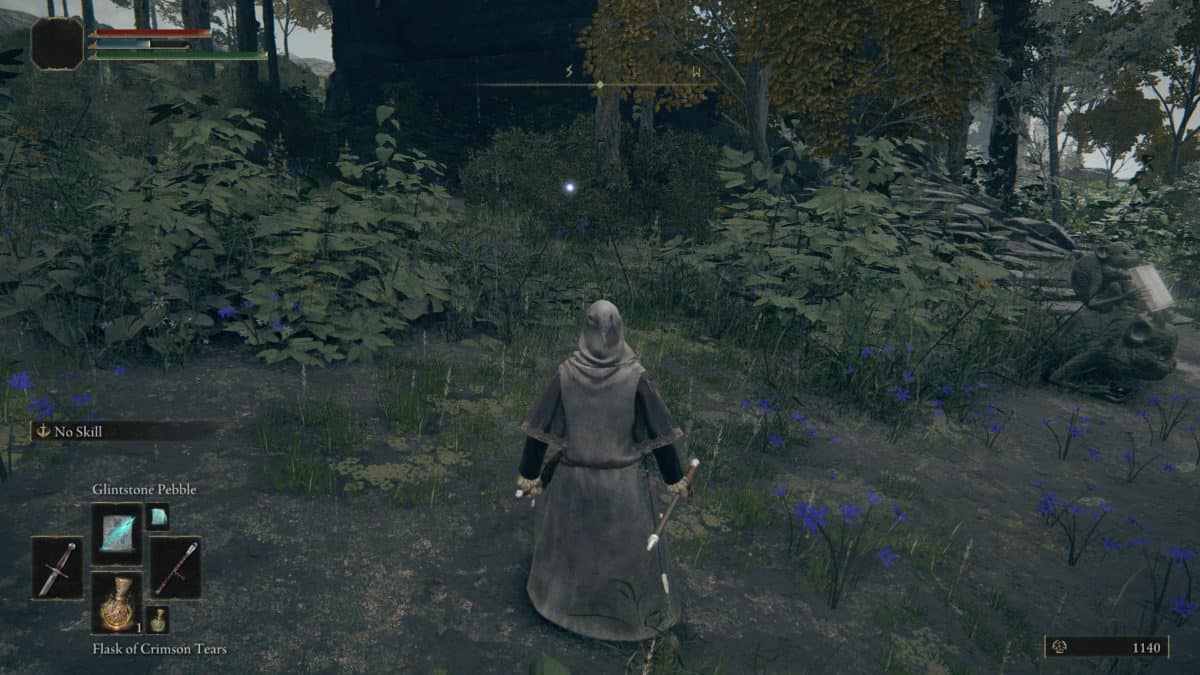
The second turtle is also pretty close to the book. Look just to the left of the stairs and you’ll see some thick bushes. this little guy has sequestered himself in there and he’s pretty hard to spot, especially with wolves bearing down on you. Just run up and give him a whack to secure your second turtle.
3rd Turtle
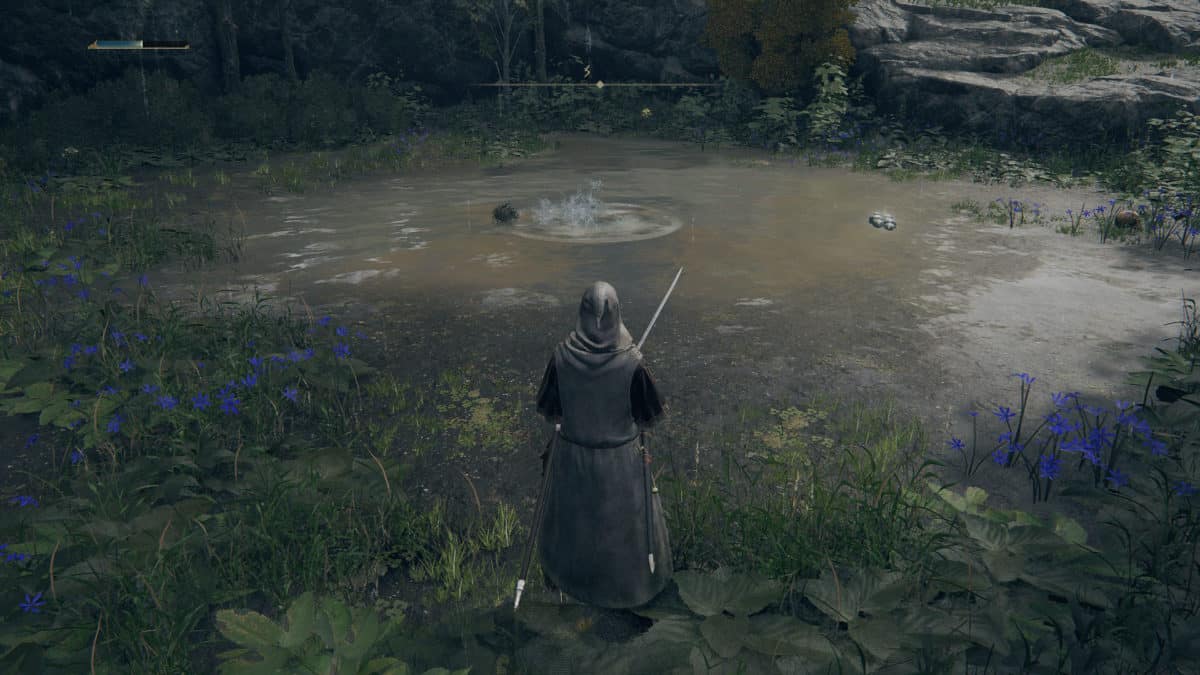
This turtle is probably 99% of the reason that you’ll need this guide. He’s much better at hiding than his two brothers, probably because he’s learned the art of invisibility. Follow the tower around to the right until you come to a shallow pond. If you stand and look at the pond for a while, you’ll see a random spot where the water keeps splashing up on its own. This is where our turtle friend is hiding.
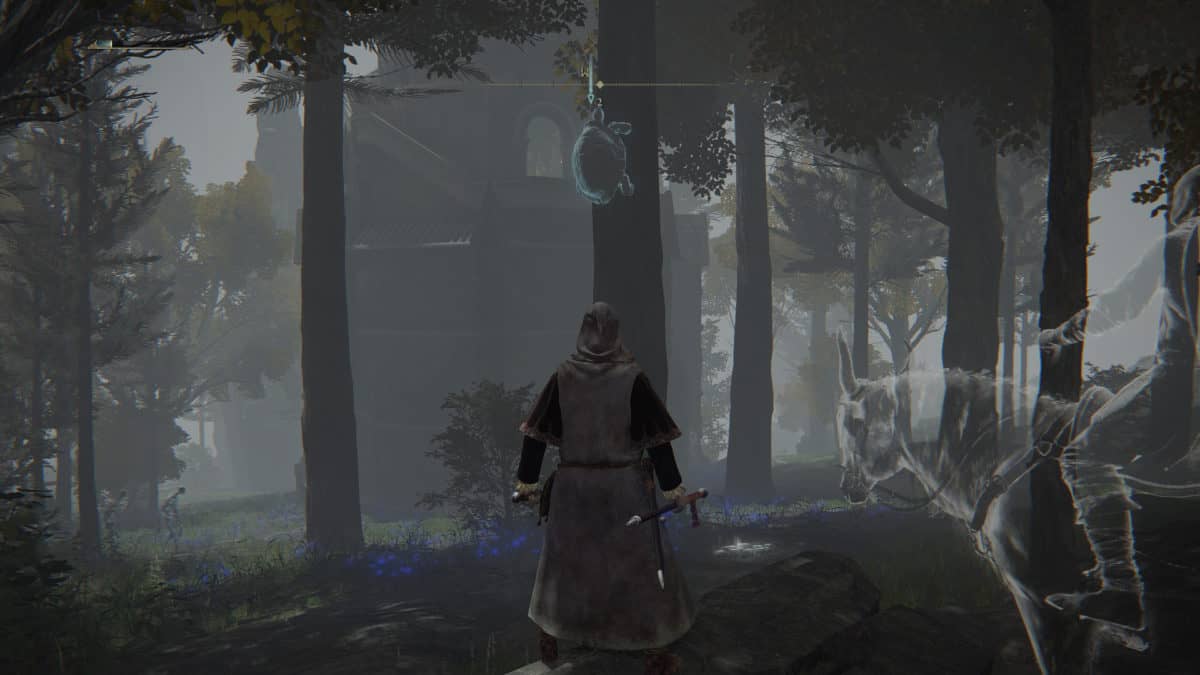
Liurnia Mage Tower – Testu’s Rise
Though you’ll most likely come across this tower once you’ve got a boss or two behind your belt, it’s technically possible for you to get here before you’ve fought any bosses or enemies at all. Either way, you’ll come across this tower at the very northern tip of the lake just before it starts turning into a huge ravine. Make sure you find the point of grace and then go and read the book in front of the tower. Keep an eye on the enemies that surround you, because they can grab you from quite a distance very suddenly, and do a decent amount of damage to boot.

1st Turtle
The first turtle is probably the easiest. You can run to the left of the tower from the front, and head straight for the cliff. You should be easily able to see the glowing turtle plodding around the cliff, just watch out for the enemy that’s lurking right beside him. A single hit will sort this one out.
2nd Turtle
This second turtle is a bit more sneaky. head to the back of the towers, and then walk over to the cliff. If you turn around, you should see a turtle clinging to a nearby tree. Give that trunk one solid whack to bring down the be-shelled monster. Just make sure that you don’t get tagged by those zombies on the cliff while you’re looking through the tree.
3rd Turtle
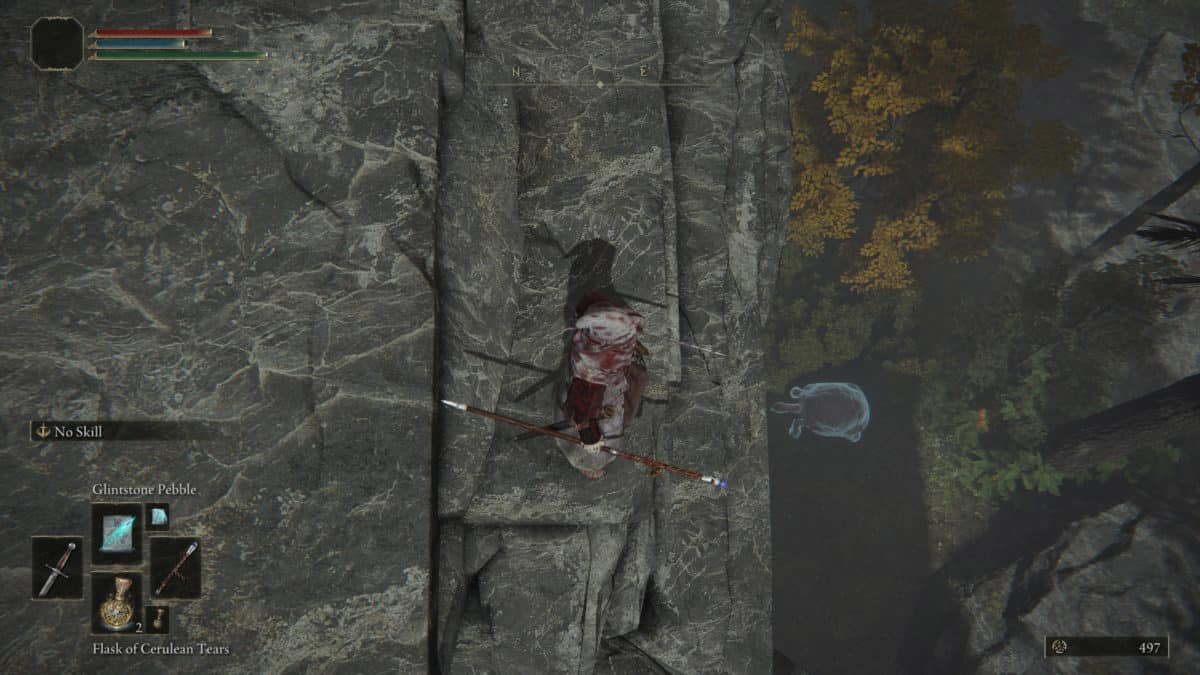
This 3rd reptile is hiding in the sneakiest place of all. On the opposite side of the tower from the first turtle, follow the cliff edge and keep looking down as you go. Make sure you cast one eye onto the ledge itself as well, or those zombies will get you. Eventually, you should be able to see the glowing ghost turtle just hanging around on a ledge down there. Walk off the ledge and smash the thing into soup to unlock the tower.
Dragonbarrow Mage Tower – Lenne’s Rise
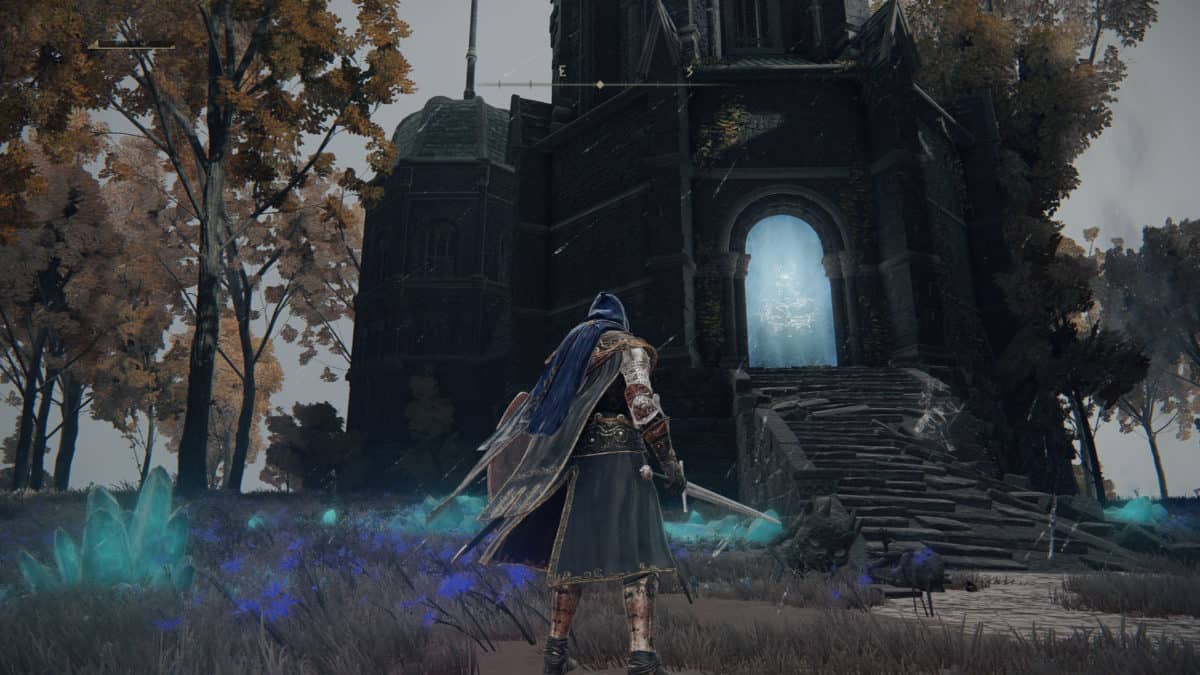
This is probably the hardest tower to get to because it’s in one of the toughest areas of the game. Despite the name, a lot of those dragons aren’t actually dead yet, unfortunately. Still, if you’re determined to get to this tower, you can find it by heading to the northeast of Caelid until you can see the minor Erdtree. From there, follow the cliff towards the north and keep using the jetstreams to jump down the different cliffs. You should see the mage tower just ahead of you, and since it’s the largest in the game, it’s pretty hard to miss.
Getting inside Lenne’s Rise
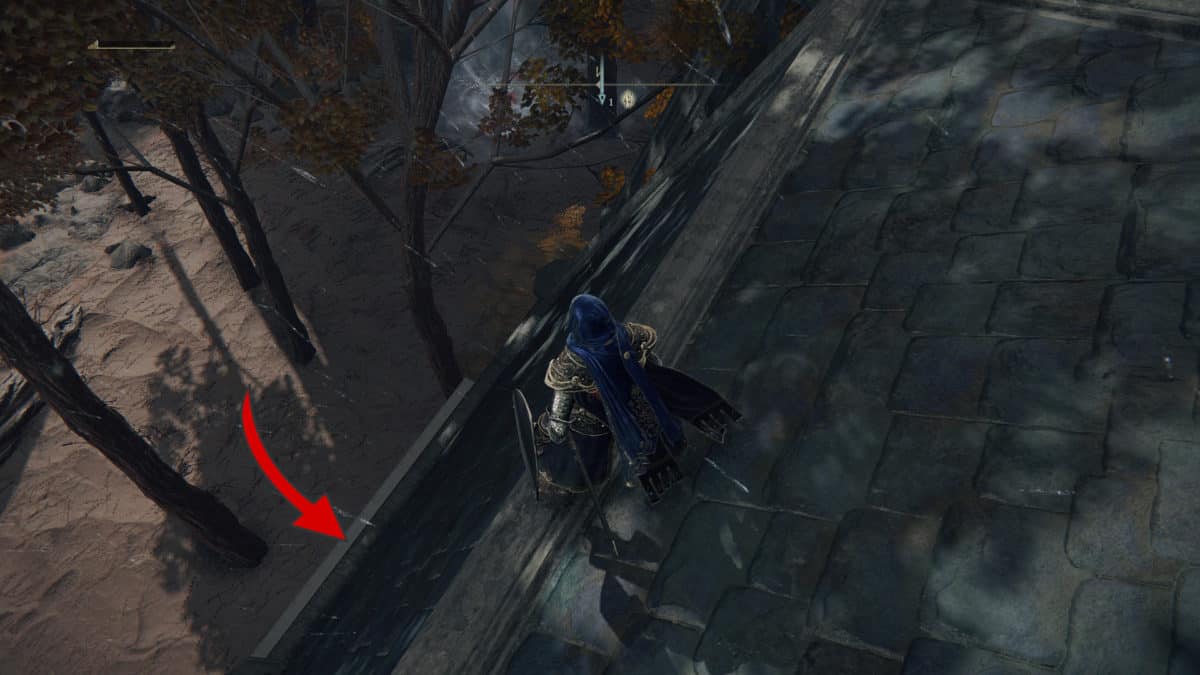
Unlike most other mage towers, this one doesn’t have a traditional puzzle. Instead, you’ll need to do a jumping puzzle to reach the inside of the tower. Make sure you get the point of grace so you can warp back if anything goes wrong, then head for the jetstream towards the back of the building. Use it to launch yourself onto the square-shaped building at the back of the tower. Once on the roof, dismount your horse, then carefully fall off the edge to land on the balcony.
Be careful, because inside this tower is a pretty powerful enemy. For now, turn around and take the stairs up to the left and get on the lift. At the top of the tower, you’ll get the usual reward of a memory stone. One your way back down, send the lift back up, and look down through the hole. You should see a grotesque monster hanging out down there that keeps spewing sleep dust at you. You can actually finish him off pretty easily from up here if you’re a ranged or magic build, but you don’t get much in the way of rewards for it.
More Elden Ring Mage Towers
We will be adding further Mage Tower information to this page in due course. Tune in soon.
[ad_2]


