
[ad_1]
Mirrorless cameras have the ability to capture incredible video. They just continue to get better and better and now are in direct competition with cinema cameras multiple times their size and cost. Where they won’t ever get as good as a traditional cine camera is in layout and design – they are limited by the hybrid photo/video nature of the mirrorless form factor.
Though you can take a mirrorless and build it out to essentially realize a similar feature set. Today, we are taking a look at filmmaker Ryan Kao and how he built up his Sony a7S III cinema rig.
If you are planning on using your a7S III as a cinema camera, you’ll likely want to build it up to better resemble that of a traditional cine system. The a7S III brings the image quality, but not so many of those needed features. Building a rig is fun and lets you customize the camera to your liking.
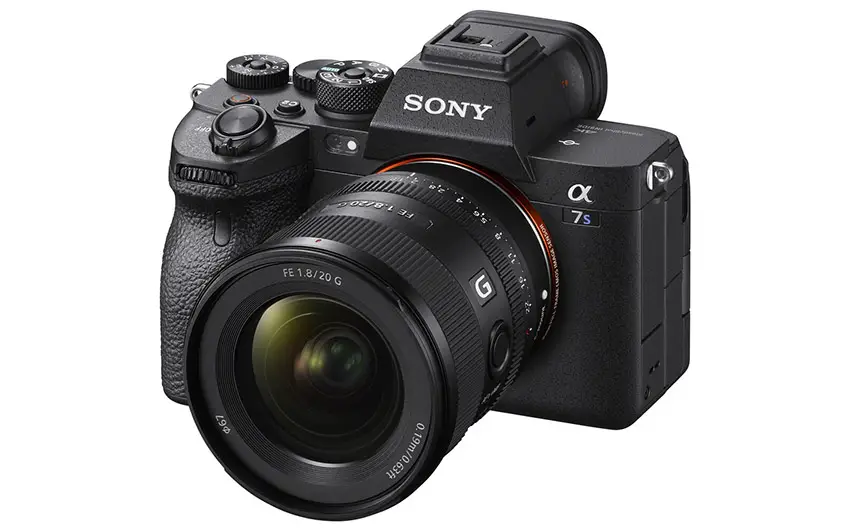
Image Credit: Sony
Building cages you’ll want to have some tools on hand, and the SmallRig AAK2213C Multi-Tool has all the common tools for camera accessories and supports.
To start, you’ll also need a cage to serve as the base of all your components. In this setup it is the Kondor Blue Cage with Start/Stop Trigger Handle. It’s a nice cage which also has an Arca-type quick release plate for easily getting your camera in and out.

Image Credit: Kondor Blue
On the bottom of the cage for mounting to a baseplate he uses another Arca-type plate and base system from SmallRig. The Niceyrig Riser Baseplate in question adds some 15mm rod mounts and ARRI rosettes for attaching some of the other accessories. I’m a fan of using QR plates to make building up rigs a lot faster.
Going off that baseplate, Ryan adds some 12” rods. They are a nice length for this type of setup. On the top is the top handle included with the cage which has an option for connecting to the camera and having start/stop functionality.
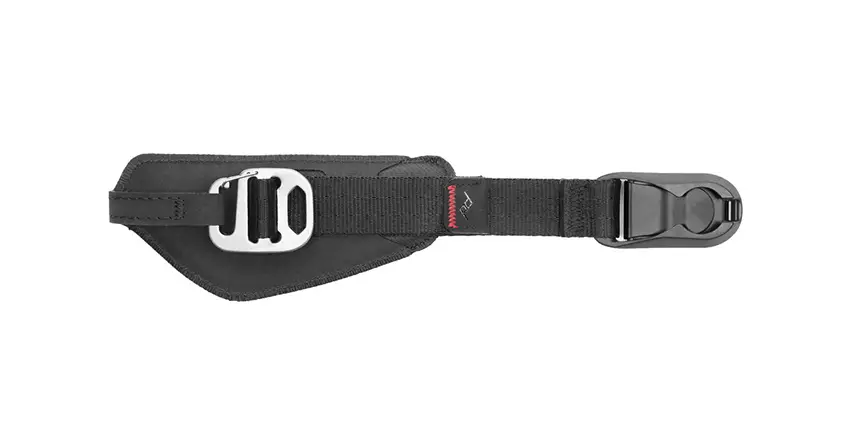
Image Credit: Peak Design
For a more comfortable and secure handheld grip he attached a Peak Design Clutch Hand Strap to the outside of the cage. He had to add a new screw with loop to the top of the cage to make it work.
Making a slight adjustment to the placement of the mic on top is a SmallRig Cold Shoe Extension. It shifts a shoe mount off to the side of the cage to give it more space.
The mic? The Deity V-Mic D4 DUO. It’s a tiny shotgun microphone with two capsules to capture both in front and behind the camera.
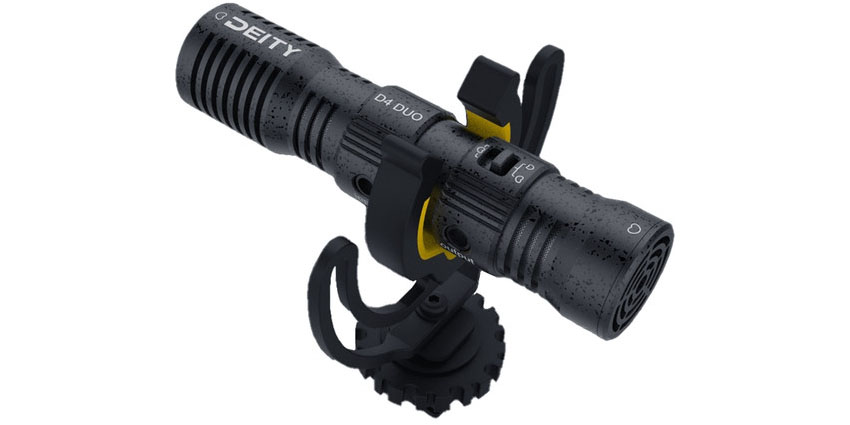
Image Credit: Deity
Powering everything is a bigger battery pack. To get it attached there is a CAME-TV V-mount battery plate. This has two D-tap outlets for your accessories and attaches to the 15mm rods. The small CAME-TV Mini 99 battery pairs perfectly with this.
Mounted to the front of the top handle is a monitor mount. He throws on a small Kondor Blue Mini Quick Release for taking the monitor on and off. The monitor he uses is the SmallHD INDIE 7 Touchscreen On-Camera Monitor. It’s bright and large and makes monitoring a much nicer and more reliable experience.
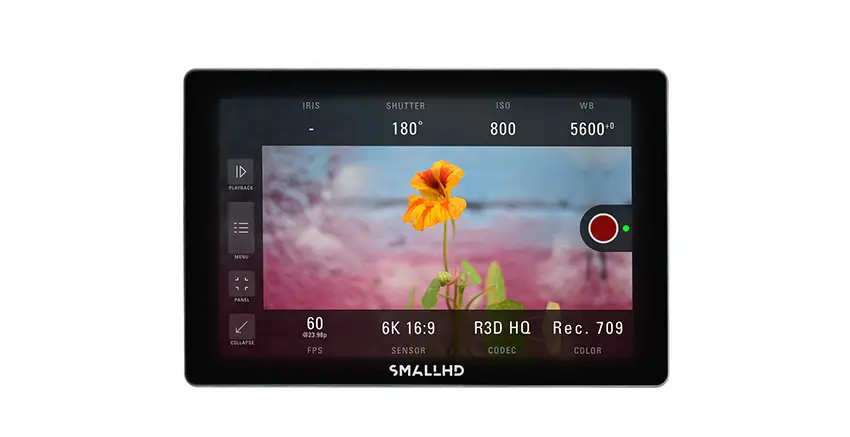
Image Credit: SmallHD
Looking now to lenses, Ryan picked up the DZOFilm Vespid primes, specifically the 25mm T2.1 in this case. Being manual focus, he added the Tilta Nucleus Nano Wireless Follow Focus and the Tiltaing Side Focus Handle Type II to control it. With these heavier lenses having a lens support attached to the rods is a good move.
Now you can connect all your cables. Probably a mix of HDMI, audio, and power cables. You can use whatever you want, but some short right-angle cables are helpful for a clean setup. Pick up some velcro ties to hold everything down.
Freewell Variable ND Filters are the pick here since they have a magnetic attachment. Anything that makes this process faster is appreciated. The SmallRig Mini Matte Box completes the look up front. It works well with the Freewell filters, too.
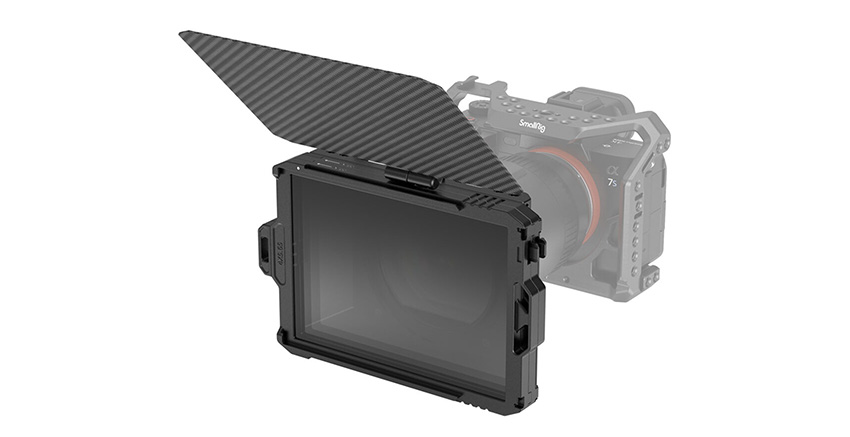
Image Credit: SmallRig
If you are using an autofocus setup and don’t need the wireless follow focus you can trim down the rig. In this case, Ryan actually uses a different side rubber handle that attaches to the top NATO rail and also adds another NATO rail to mount the monitor top handle.
That’s a lot of small pieces but it adds up to a very functional and customizable rig.
Anything you would add to your own rig?
[source: Ryan Kao]
Order Links:
- Sony a7S III Mirrorless Camera (B&H, Amazon)
- SmallRig AAK2213C Multi-Tool (B&H, Amazon)
- Kondor Blue a7S III Cage with Start/Stop Trigger Handle (B&H, Amazon)
- SmallRig Arca-Type Quick Release Base and Plate (B&H)
- Niceyrig Riser Baseplate (B&H, Amazon)
- Niceyrig 15mm 12” Aluminum Alloy Rod Set (B&H, Amazon)
- Peak Design Clutch Camera Hand Strap (B&H, Amazon)
- SmallRig 2879 Cold Shoe Extension (B&H, Amazon)
- Deity V-Mic D4 DUO On-Camera Shotgun Microphone (B&H, Amazon)
- CAME-TV Mini V-Mount Plate with Two D-Tap Outputs (B&H, Amazon)
- CAME-TV Mini 99 Lightweight V-Mount Battery (B&H, Amazon)
- Nitze Low-Profile Monitor Mount (Amazon)
- Kondor Blue Mini Quick Release (B&H, Amazon)
- SmallHD INDIE 7 Touchscreen On-Camera Monitor (B&H, Amazon)
- DZOFilm VESPID 25mm T2.1 Lens (B&H, Amazon)
- Tilta Nucleus Nano Wireless Follow Focus Motor (Amazon)
- Tiltaing Side Focus Handle Type II (Amazon)
- SmallRig 15mm LWS Universal Lens Support (B&H, Amazon)
- Right-Angle HDMI Cable (Amazon)
- Velcro Cable Ties (Amazon)
- Monitor D-Tap Power Cable (Amazon)
- Right-Angle USB-C Cable Adapters (Amazon)
- Freewell 77mm Magnetic Variable ND Filter System (B&H, Amazon)
- SmallRig Mini Matte Box (B&H, Amazon)
- SmallRig 3.9” NATO Rail (B&H, Amazon)
- CAMVATE L-Shaped Rubber Side Handgrip (B&H)
- MAGICRIG Rubber Top Handle (Amazon)
[ad_2]


