
From cutting rabbets, tenons, dadoes, and miters to pattern sawing, and much more, the L-fence will change the way you think about using your tablesaw.
Rabbets
 It is common practice to clamp a sacrificial board to the rip fence and then bury a portion of the dado blade in it. The problem is that the clamps are always in the way and you end up wasting lumber or plywood every time. By setting the L-fence above the height of the dado blade and setting the fence so the correct amount of dado blade is exposed, you accomplish the same task without wasting wood and without clamps in the way.
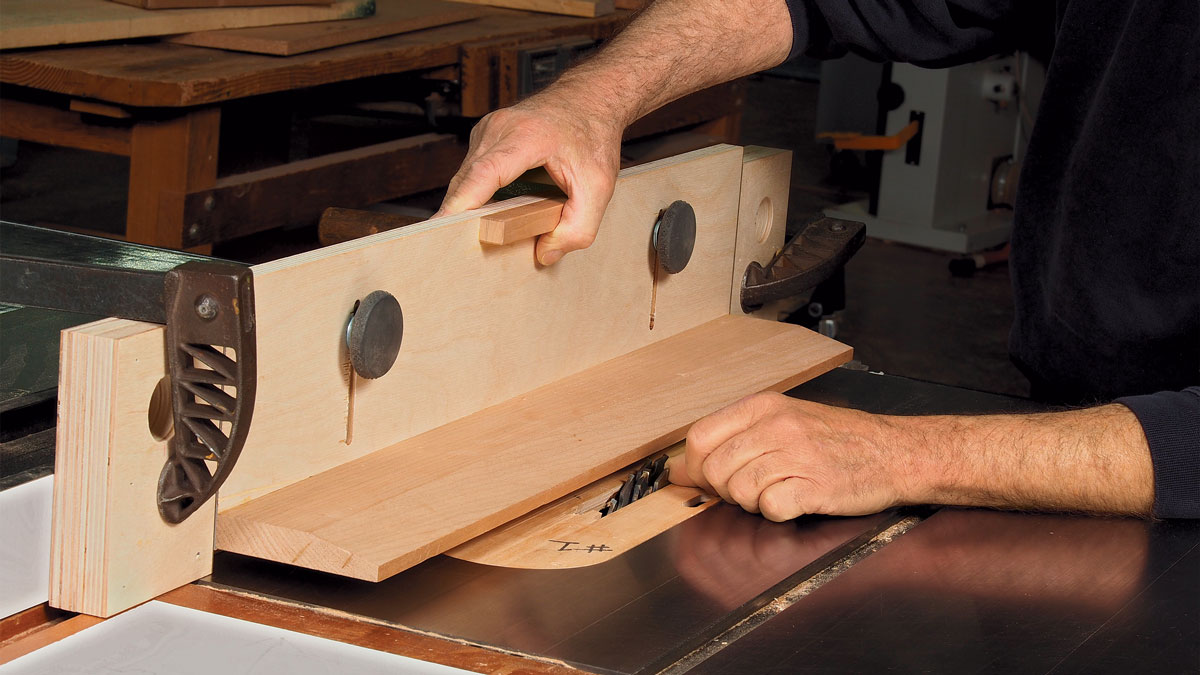
Adjust the height. The tab and threaded knobs make it easy to hold, lift, lower, and lock in the height of the fence.
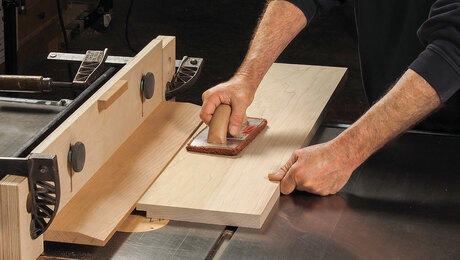
Cover the blade. To cut rabbets and tenons, set the L-fence to expose enough of the dado blade to equal the length of the tenon or width of the rabbet. Then ride the workpiece on the fence. It’s easy, safe, and repeatable.
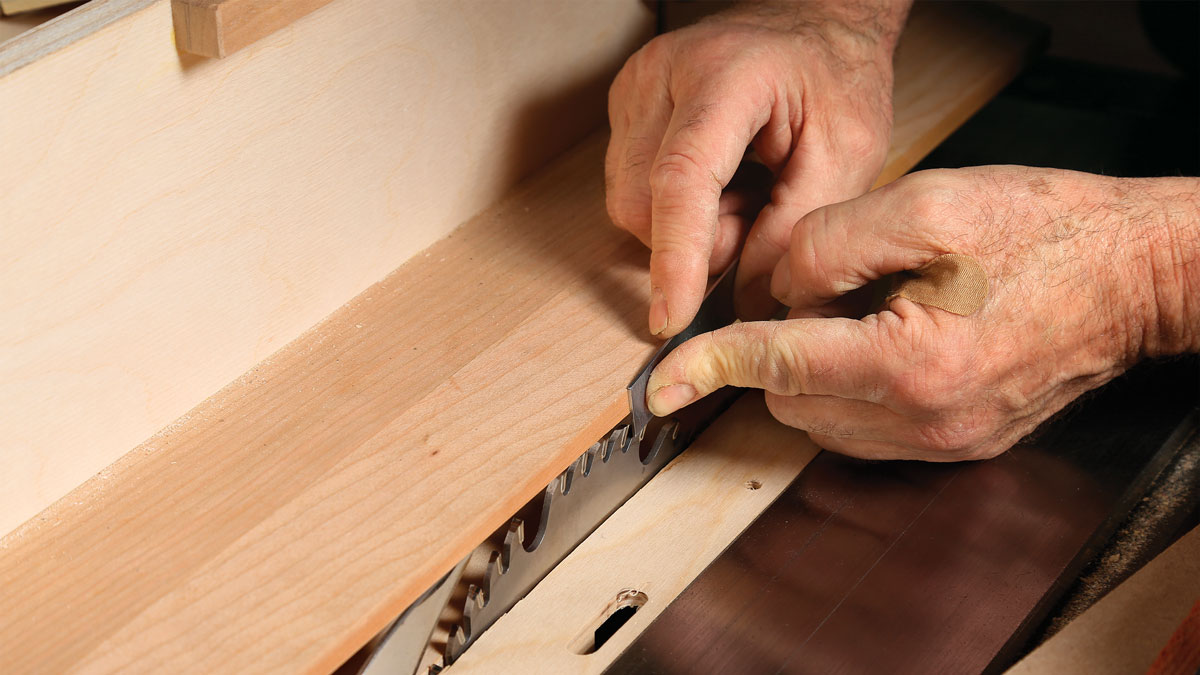
Trimming tenon shoulders
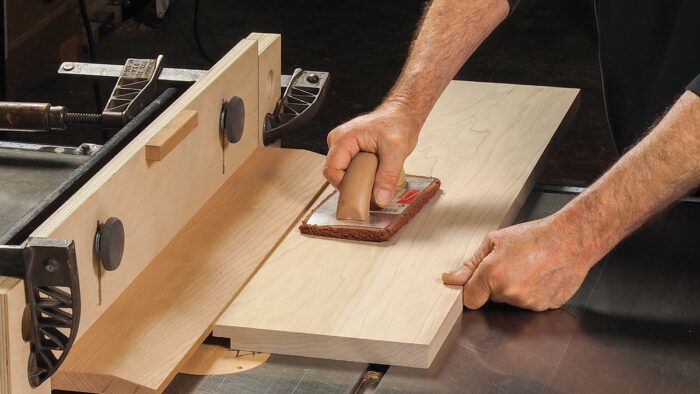
Making this cut with a tablesaw’s rip fence as a stop creates a potential for kickback because the offcut gets trapped between the fence and the spinning blade. The L-fence solves that problem. Simply raise it so the top half of the tenon runs against it, set the fence distance to the length of the tenon, and run the end of the board against the fence. The extra space below the L-fence prevents the offcut from getting trapped. For narrow boards, support the workpiece with a miter gauge or a square pusher block. Wider pieces like the one in the photo at right can simply be run against the fence by themselves.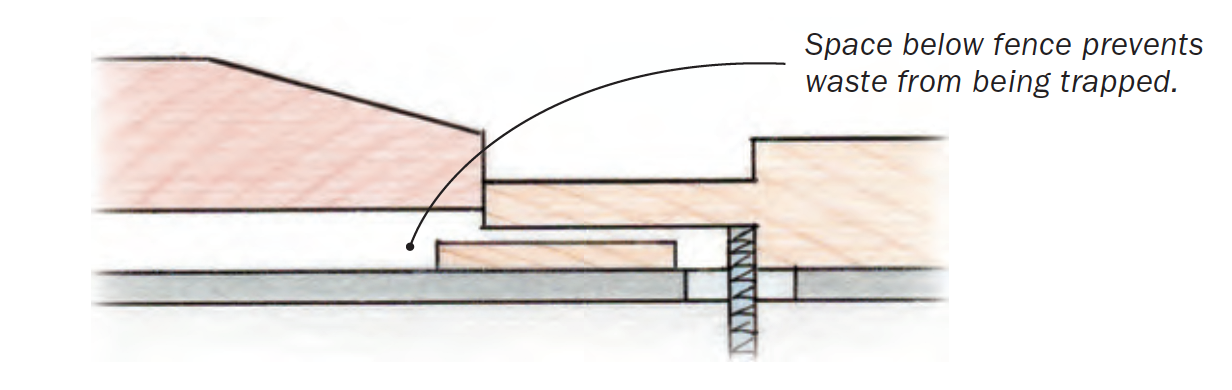

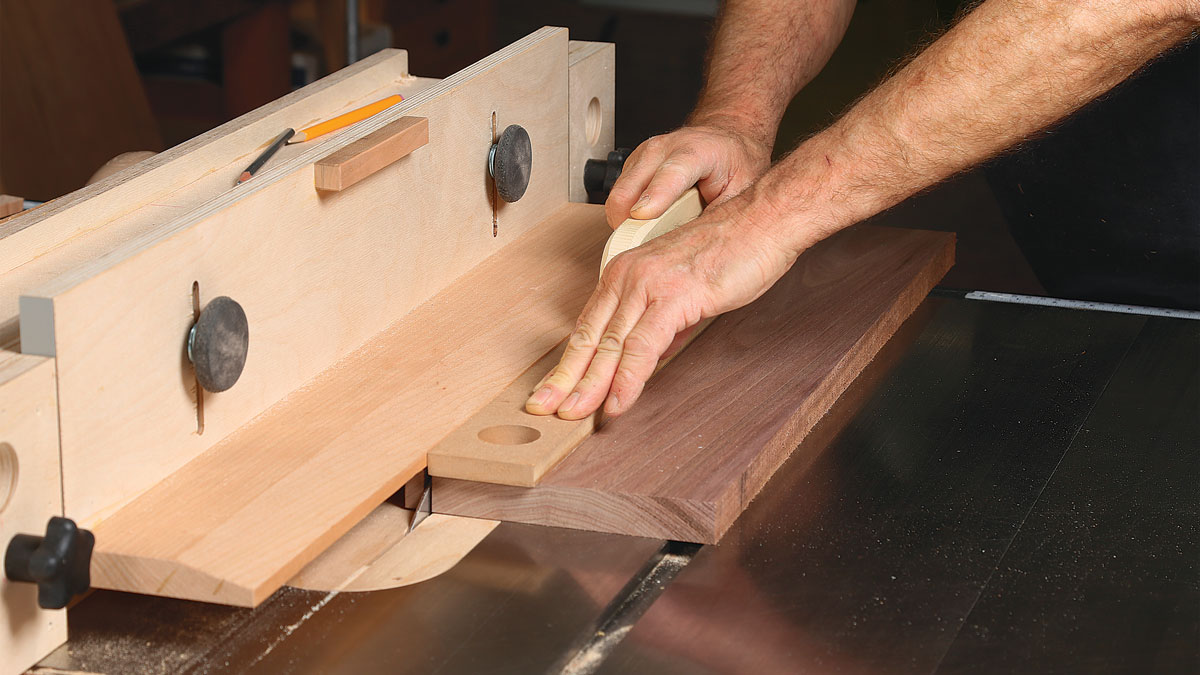
Flush Trimming
An L-fence can be a good solution when crosscutting wide panels or ripping a straight edge on a wavy board. Set the L-fence slightly higher than the blade and set the edge of the fence flush with the outside edge of the blade. For flush sawing, lay out the cut line on the workpiece. Then saw away the waste, either on the bandsaw or with a jigsaw, leaving about 1⁄8 in. of wood on the waste side. Temporarily attach a straight piece of wood right on that line using tacks, double-sided tape, or even coarse adhesive-backed sandpaper. Now run your workpiece—with its temporary fence attached—against the L-fence. You should be cutting right on your layout line. Any waste falls away under the L-fence and does not get caught between the blade and the rip fence. If you are cutting a lot of parts, turn off the saw and check periodically for waste buildup under the fence.
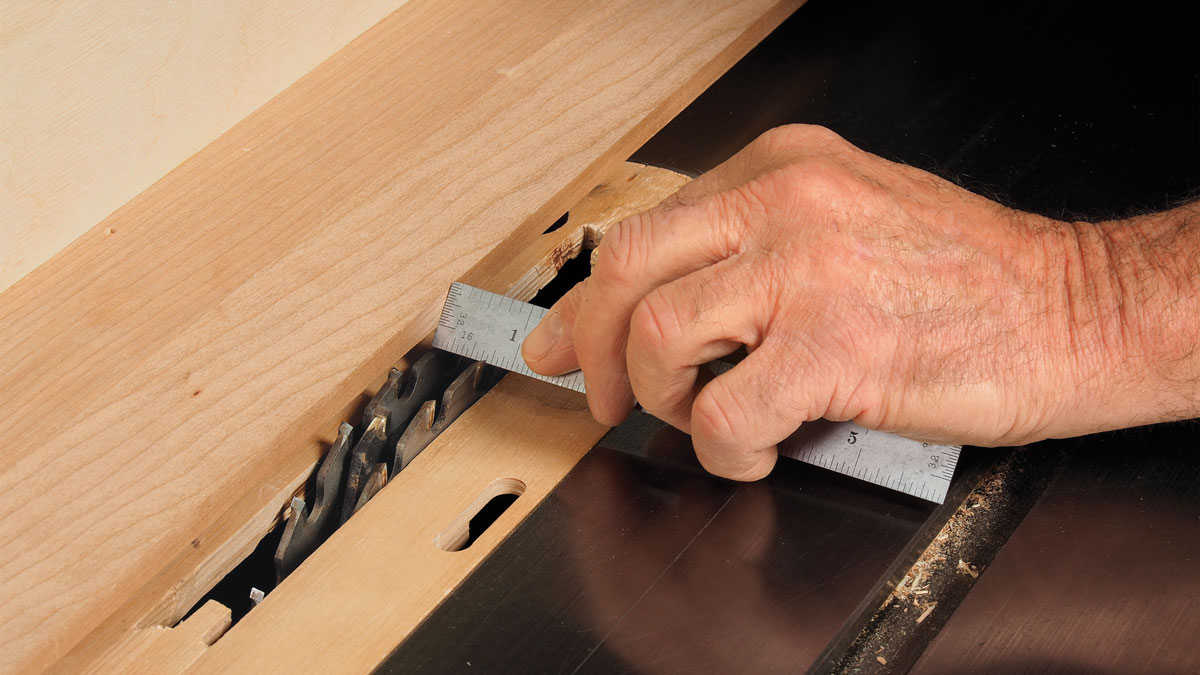
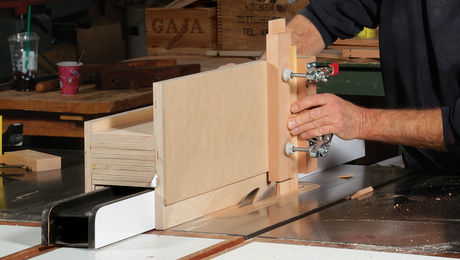
Flush the blade to the fence. Make sure the blade is above the height of the workpiece, but just below the height of the L-fence, and use a straightedge to make sure the blade is flush with the edge of the fence.
 |
 |
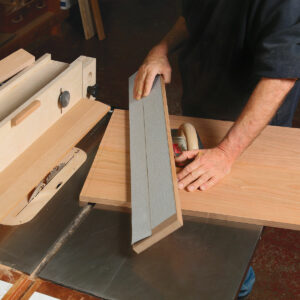
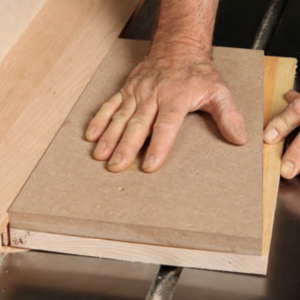
Crosscut a panel end. Draw a line square to one edge. Use a straightedge backed with sandpaper for grip and place it along the line. Run the piece so the straightedge rides on the L fence, and the panel is cut along the line.
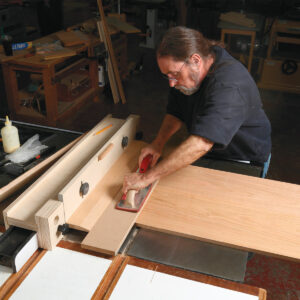
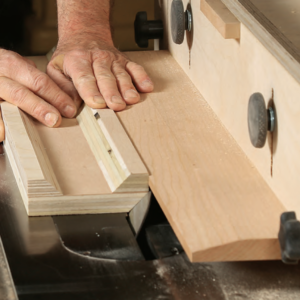
Straighten a wonky edge. After drawing the line you want, place a sandpaper-backed straightedge right along it. Van Dyke’s straightedge has a lip at the trailing end and a handle, helping keep the straightedge stationary and the workpiece moving.
Pattern Sawing
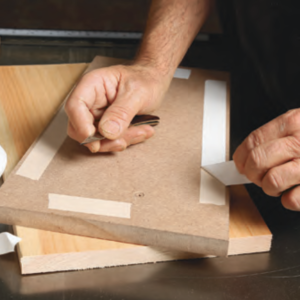
You do not usually think of a tablesaw when you have a bunch of oddly shaped parts to cut, but if you use the flush-sawing capabilities of an L-fence the tablesaw can easily duplicate any straight-sided shape. Make a pattern out of any material—plywood, MDF, solid stock. You can cut the pattern to any shape you need. When you are happy with the pattern, trace it onto the workpiece. Remove most of the waste at the bandsaw, leaving about 1⁄8 in. outside the lines. Now attach the pattern to your workpiece with tacks, double-sided tape, or with coarse adhesive-backed sandpaper attached to the underside of the pattern. With the L-fence flush with the outside edge of the blade, cut the parts, running the edges of the pattern against the L-fence. If you set the L-fence carefully, your workpiece should be exactly the same as your pattern.
 |
 |
Cut patterns on the tablesaw. Start with an MDF pattern you want to replicate. Secure the pattern to the workpiece using double-sided tape or finish nails. Push the assembly through the saw with the pattern on top, riding against the L-fence. You can cut all four sides.
Miters
Think about cutting a long miter on a case side. Cutting one edge cleanly is hard enough, as there is always some burning and frequently a scar mark from the blade. If you need to miter the opposite edge parallel, you have nothing except the knife edge of the first miter to run against the fence. This is a no-win situation. But if you cut the part to its final size while the edges are still square, you can add the miters in a second step and get very clean and accurate cuts on stock of any width.
 |
 |
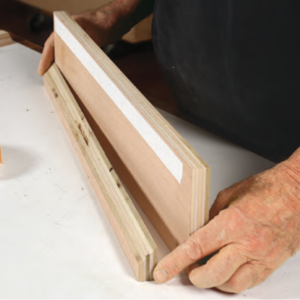
Miter exactly to an edge. Set up the saw with the fence on the left side of the blade (if your blade tilts left) and the blade tilted 45°. The case pieces should be cut to final width. Use double-sided tape to attach a straightedge perfectly flush with the edge that will be mitered. The L-fence should be set higher than the workpiece and the blade should cut through the workpiece. After cutting the miters, Van Dyke leaves the straightedges taped on. With their inside edges cut to 45°, they serve as clamping cauls to glue the mitered case together.
Contributing editor Bob Van Dyke runs the Connecticut Valley School of Woodworking.
From Fine Woodworking #290
More from Bob Van Dyke
 |
Build an Adjustable Tablesaw L-Fence |
 |
Shopmade Tablesaw Tenoning Jig |
 |
3 Handy Stop Blocks |


