
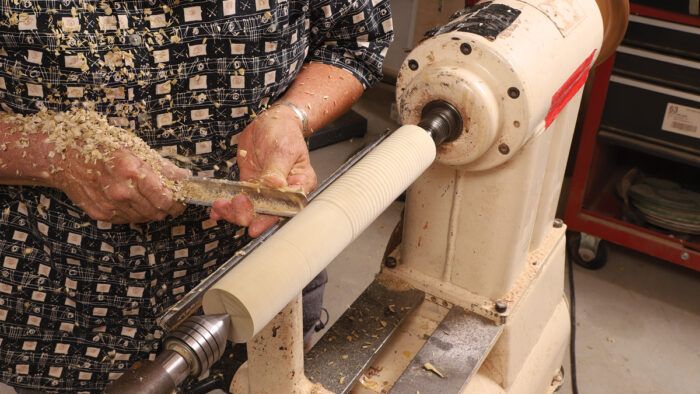
Synopsis: Beth Ireland has spent years turning balusters, newel posts, and other furniture parts, so she knows her way around a lathe. She also knows the skills you need to master to create a perfect cylinder whenever you want one. This article lays out the basics of spindle turning, from mounting the workpiece, to adjusting the tool rest, to correctly holding the tool, to creating a cylinder with and without a taper.
I’ve always made a living as a woodworker. Before I started turning, in 1985, I made cabinets and furniture, and I taught myself to turn so I could put more curves into my work. When I discovered that this new work was also putting good money into my bank account, I began to specialize in turning—soon scores of balusters and newel posts were stacked in my shop. As I turned similar shapes again and again, I figured out how to turn with an economy of movement and an understanding of my tools that led to a clean finished product that was easily repeatable and needed little sanding. The foundation of it all was making a perfect cylinder.
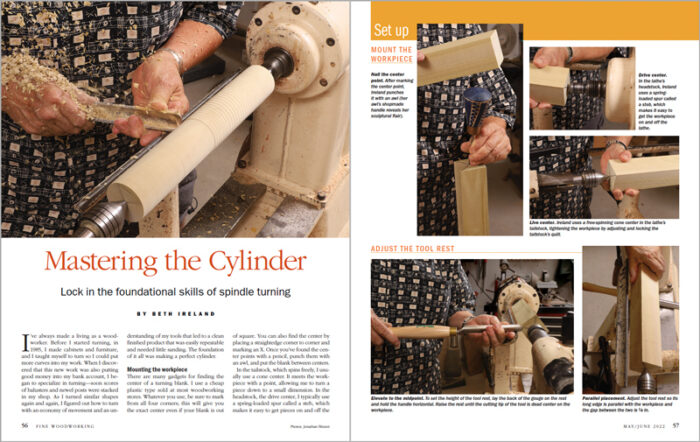
Mounting the workpiece
There are many gadgets for finding the center of a turning blank. I use a cheap plastic type sold at most woodworking stores. Whatever you use, be sure to mark from all four corners; this will give you the exact center even if your blank is out of square. You can also find the center by placing a straightedge corner to corner and marking an X. Once you’ve found the center points with a pencil, punch them with an awl, and put the blank between centers.
|
|
|

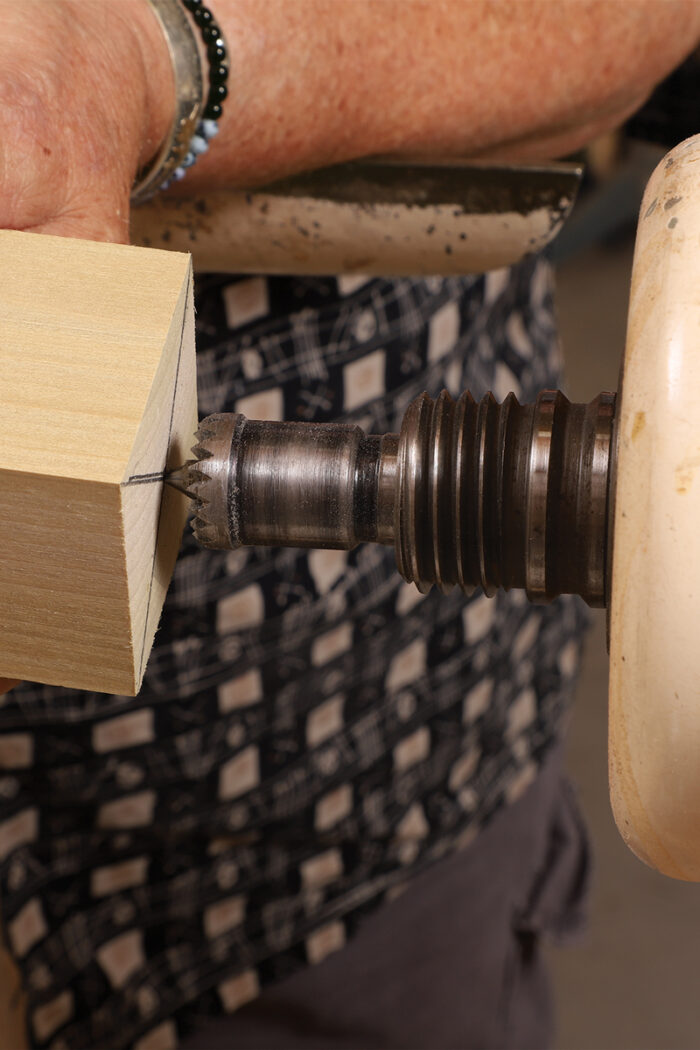
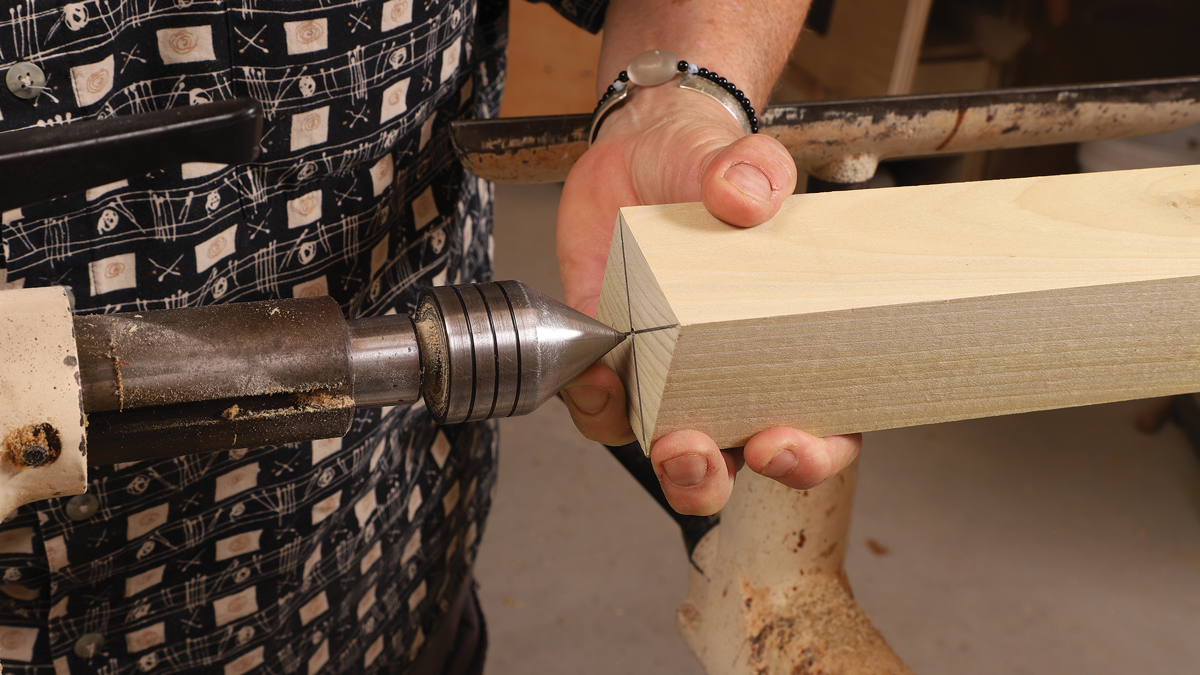
In the tailstock, which spins freely, I usually use a cone center. It meets the workpiece with a point, allowing me to turn a piece down to a small dimension. In the headstock, the drive center, I typically use a spring-loaded spur called a steb, which makes it easy to get pieces on and off the lathe without having to jam the spurs into the wood. The steb holds the work without excessive pressure; too much pressure can cause a piece to flex, producing diagonal chatter marks on the wood.
The checklist
When I teach turning, I make sure my students run through a checklist before the machine goes on. After a while, these moves become automatic.
Set the lathe speed—In spindle turning, you want your workpiece to spin fast, but not so fast that it vibrates too much. Set the speed based on the size of the workpiece. For a blank 2 in. square by 12 in. long, you might set the machine for 1,800 rpm. For a blank 3 in. square by 27 in. long, you might spin it at 800 rpm. If your lathe has variable speed control, start with the dial at off and turn it up until you hit the point of vibration. If you change speeds by moving a belt, start at the slowest setting, check how smoothly that spins, and move to progressively faster settings until the blank is spinning fast, but still not vibrating too much. Many students turn with the lathe spinning way too slow. Experiment with speed and cutting until you find the sweet spot.
Adjust the tool rest—Set the height of the rest by placing your roughing gouge on it. Hold the tool parallel to the floor and adjust the tool rest height until the cutting edge of the gouge is at the center point of the workpiece. Lock the rest there. You might have to readjust for other tools.
 From Fine Woodworking #296
To view the entire article, please click the View PDF button below
Download FREE PDF


