[ad_1]
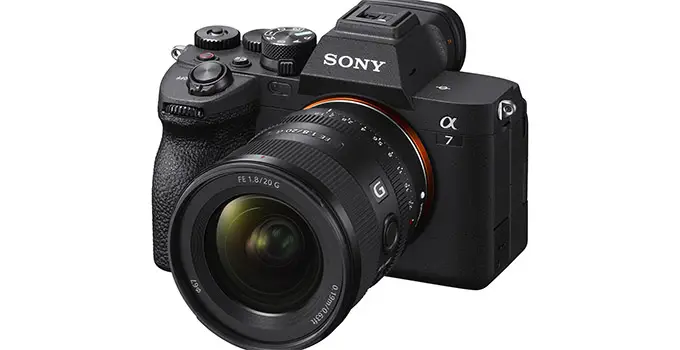
Even though Sony’s mirrorless cameras have incredible video specs we can’t forget that at their heart they are still based on stills-centric ideals. The a7 IV is the latest to join the full-frame lineup and has some notable improvements if you plan on shooting video. However, you will quickly learn that there are quirks to using a mirrorless camera for video.
There are so many settings to learn about and make sure are set just right if you hope to get cinema-quality video out of the a7 IV. For a jumpstart on what settings, you should use this video from Harv Video/Audio Stuff will do the trick.
One thing that still hasn’t changed with Sony mirrorless is that there is the potential for overheating. You can help the situation by changing the Auto Power Shut Off Temp to High. This will keep you going for a fair bit longer without any real negative side effects. Harv was able to go from around 20 minutes to well over an hour by making this simple change.
You will want to customize the buttons. Harv has the following:
- Custom 1: Focus Magnifier
- Custom 2: White Balance
- Custom 3: My Menu
- Custom 4/Trash: Picture Profiles
- Wheel: ISO
Set how you need but these are all very helpful settings to have in set for quick access.
Diving into the My Menu, you will want to tweak this a fair bit. Harv filled it up with some of the options that you don’t necessarily need to change often enough to have a button for it but that you want to find quickly. Things like Monitor/Finder, file format, movie settings, and format cards. You might also want to add the Super 35mm mode.
Speaking of, the Super 35mm mode is an incredibly useful feature. You can quickly punch in 1.5x while still shooting in 4K resolution to use APS-C lenses or getting more mileage out of your lenses. There are some slight downsides in image quality, but it is very good.

Image Credit: Sony
Gamma Display Assist is almost needed if you want to use the rear display at all. You can’t monitor well in S-Log without it.
For codec, there are a ton more options. There is XAVC HS for high compression and high quality with H.265/HEVC though it’ll be toughest on your computer. XAVC S is medium compression and medium quality using H.264 and will be a lot easier on your computer.
And last is XAVC S-I, which is an All-I format, meaning they are larger and higher quality files that are easier on your computer. Pick your poison, though I prefer XAVC S-I for quality and ease of use despite the file sizes.
A new mode is a Breathing Compensation setting which can digitally account for breathing in many Sony lenses. It’s a cool feature that actually works very well though it will crop slightly.
Make sure you spend the time to tweaks settings between your stills and video modes. The camera can save settings between modes, so if you are switching between the modes you can do it via the Different Set for Still/Movie menu and select which things you don’t want to stay the same between them.
Anything he missed? This is a fairly comprehensive overview of the Sony a7 IV’s various settings and menu options.
[source: Harv Video/Audio Stuff]
Order Links:
[ad_2]


