
[ad_1]
Knowing how to reset your Intel-powered MacBook is going to come in useful for if you ever want to sell your device and move on to the newer Apple Silicon models.
Luckily, the process is as simple as following the steps below, and you’ll have your MacBook reset in no time at all. It’s also worth noting the below steps should also be interchangeable for any other macOS devices, be it a MacBook Air, iMac, or even a Mac Pro. Although the process is different for Apple Silicon-based Macs.
Without further ado, let’s get into it.
Hardware Used
The Short Version
- Back up any existing data
- Sign out of iCloud
- Sign out of iMessage
- Reset NVRAM
- Use Disk Utility to reset the Mac
-
Step
1Back up any existing data
Before you begin the erasing process, it’s important to back up any important files you’ve got, as resetting your device will wipe the hard drive clean, and this is an irreversible process.
For backing up your files, it’s worth just grabbing a correctly formatted hard drive (for Mac, that’s ExFAT) and plugging it in, and then copying your existing files over from the relevant folders.
-
Step
2Sign out of iCloud

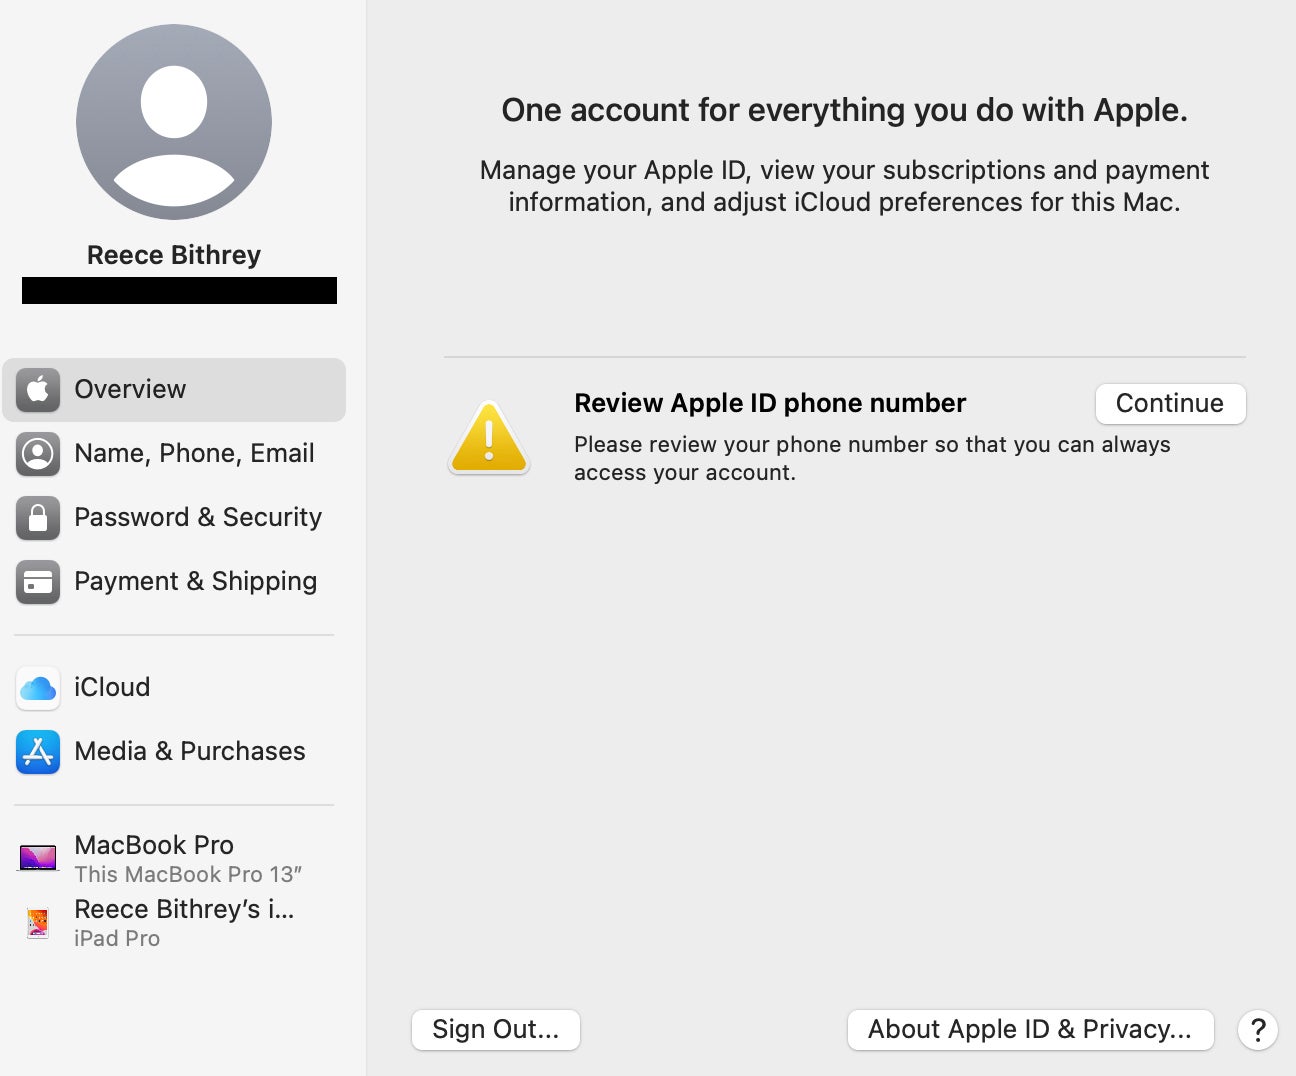
If you’re signed into iCloud, you’ll want to sign out of it if you’re planning on selling your device once you’ve reset it.
If you’re on Mojave or before, head to the Apple menu, go into System Preferences, press iCloud and then click Sign Out.
For those on Catalina or after, go into System Preferences, then into Apple ID, and then press Overview and click Sign Out.
-
Step
3Sign out of iMessage
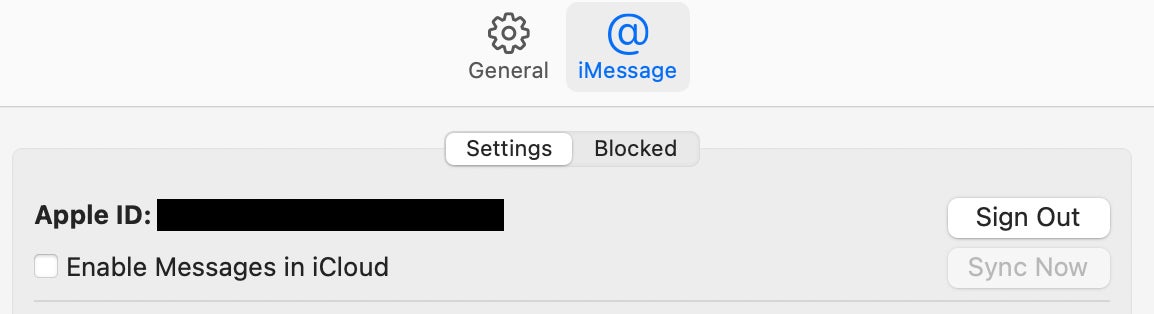
Head into the Messages app and then go into Preferences from the menu banner. Click iMessage, and then sign out.
-
Step
4Reset NVRAM
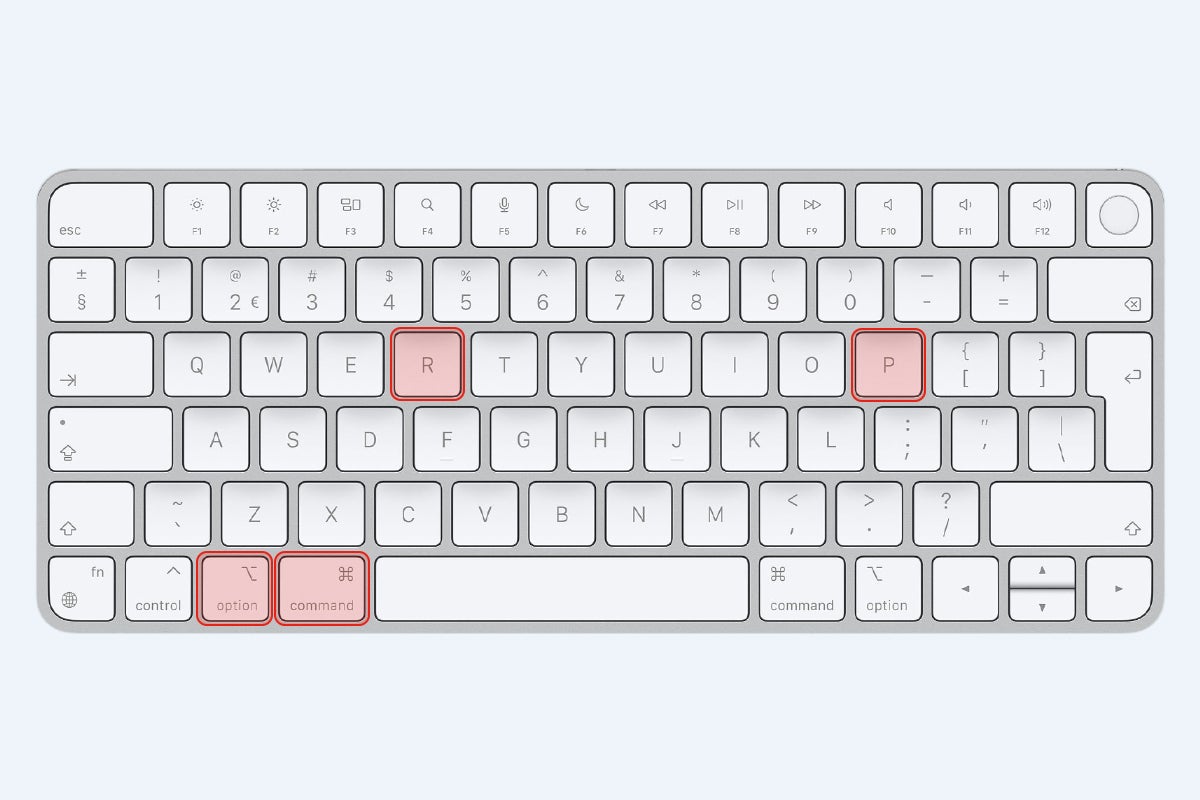
To reset the NVRAM and clear user settings from the memory, shut down your Mac, then turn it on and hold the four keys of Option+Command+P+R down at once. Release them after 20 seconds or so.
-
Step
5Use Disk Utility to reset the Mac
This is the important bit, and where things can get a little fiddly. Firstly you’ll need to start up the macOS Recovery mode. To do this, turn off your Mac and then turn it on, and hold Cmd+R until you see the Apple logo appear.
Click on Disk Utility, and then press the Erase button in the toolbar. If asked, you’ll need to enter your Apple ID to confirm the erase and reset procedure.
You can then quit Disk Utility and then reinstall a fresh version of macOS.

FAQs
If your Mac’s built-in startup disk isn’t showing up in the sidebar, simply shut down your Mac and then unplug any devices and try resetting again.
If it doesn’t appear after that, it may be the case your device needs a service. In which case, you’ll need to contact Apple Support.
[ad_2]


