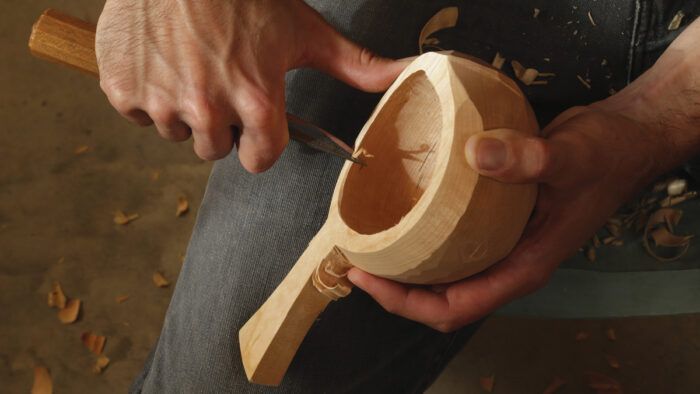
Synopsis: This cup, with design roots in Scandinavia and Japan, offers a quiet lesson in carving a small object and embracing all the lessons contained therein choosing the right wood, preparing the blank, adapting the shape to fit your tools, hollowing and shaping and drying and finishing.
Carving your own wooden cup leaves you with a deeply personal object that can become a daily part of your life. And because it is a small object, you’ll feel nearly every surface, from facets to curves, each time you pick it up. Wooden cups take many forms and have roots in many craft traditions around the world. Mine tend to be influenced most by Scandinavian kuksa and Japanese teaware, but there are many avenues to explore and learn from. Your tool set will also greatly influence the shape of your cup. Instead of trying to force a form that becomes burdensome for your tools, let their individual touch further personalize your cup.
Start with a log
My methods rely on the relative ease of carving green wood. A fresh log 12–18 in. diameter and 8–9 in. long is a nice place to start, though smaller or larger also work.
When splitting out the blank from the log, remove any knots or other grain irregularities—or better yet, avoid them from the start. Take off the pith, bark, and, if you don’t like it, sapwood too. Last, hew the sides of the blank square to the top and bottom surfaces.
Although I do lay out a centerline, three concentric rings to guide shaping and hollowing the bowl, and the profile of the handle, the layout is actually minimal. This is because much of the cup’s final shape will be dictated by the hollow, which in turn will be determined by your specific tools. It’s best to keep an open mind with the design of your cup and explore what shapes and forms are attainable with your given tool set.

Hollow the inside, then shape the outside
Carving begins with hollowing the inside of the cup. If you began by shaping the outside of the cup, there would not be enough material left to safely clamp the workpiece for the hollowing process.
I like to start the hollowing with an adze, which works quickly but leaves a rough surface. To refine the rough adze work and undercut the bowl a bit, I pick up a hook knife, preferably one with a long handle for better leverage.
Turn to the exterior shape of the cup. I do this in three stages, rough shaping with a bandsaw and ax, using a drawknife to get close to my final shape, and then turning to a sloyd knife for the final cuts. While some people let their greenwood projects dry before taking finishing cuts—because cuts on dry wood are often smoother than on green wood—I’ve come to prefer doing most of the cup’s finishing work while it’s still wet. Working green wood is less physically demanding, and you can still end up with a nice finish provided your tools are sharp. Save any decorative carving, however, until after the piece dries to keep those cuts as crisp as possible.
You can follow Dawson Moore on Instagram at @michigansloyd.
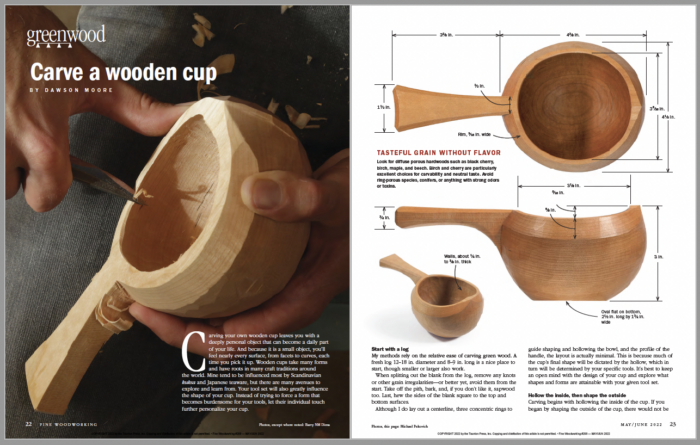 From Fine Woodworking #296
To view the entire article, please click the View PDF button below.
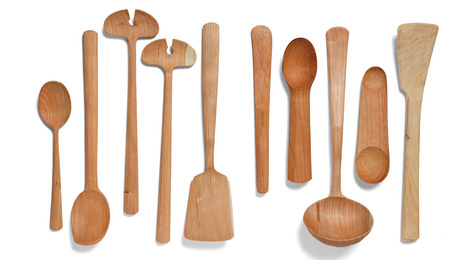 |
Designer’s Notebook: Greenwood utensil design |
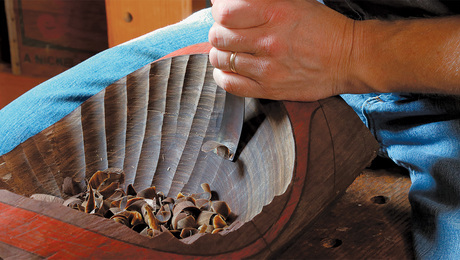 |
Gouges for Green Woodworking |
 |
Carve Your Daily Bowl |
Download FREE PDF

