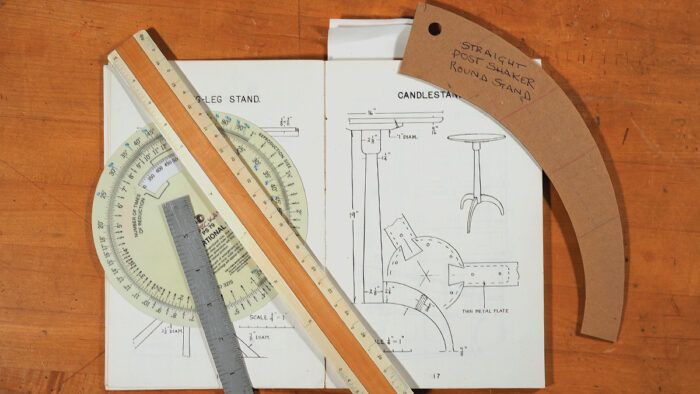
Patterns can be made directly from an existing object, drawn freehand, or scaled from a drawing or photo. When working from a photo or drawing, it’s handy to have a proportion scale (available from drafting- or art-supply stores). If a drawing is your source, you’ll also want an architect’s scale. By comparing the dimension of a part on paper with the part’s intended full size, you can find the necessary percentage of enlargement. Go to a copy shop and have the photo or drawing enlarged to give you a full-scale image.
Patterns for symmetrical components are best created by folding paper in half, drawing half the image, stapling it (to prevent the paper from shifting), cutting the double paper, removing the staples, and unfolding the pattern. Asymmetrical components can be drawn directly on paper. For curved pieces, you can use flex curves, French curves, or drafting weights with battens.
Making the pattern

Start by finding the intended full size of the part. On a scale drawing, an architect’s scale can determine the size quickly (1). The next step is to measure the size of the part on the page (2). With those two pieces of information, use a proportion scale to determine the amount of enlargement needed to create a full-size copy of the part. Adjust the outer ring so the size on paper and the desired size of the part are aligned (3). The number in the window of the scale tells you by how much you need to enlarge the drawing (4). The enlarged copy can be glued or traced onto heavier stock to create the pattern.

From Fine Woodworking #292


