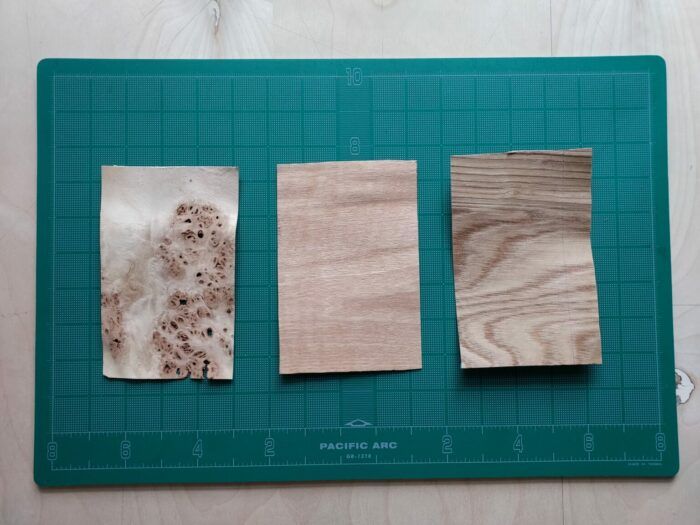
When starting to work with veneer the first thing to understand is that each wood species has significantly different characteristics. The hardness, grain structure, and direction you pull the knife will all affect how the veneer cuts. The great thing is that you do not have to have any previous knowledge of wood! Once you start working you will quickly recognize the attributes of your veneer.

When cutting veneer with a knife it takes multiple passes to get a clean cut. The first pass should be a very light score line. If you use too much pressure or swipe too quickly, chances are the cut won’t be clean or straight. The key is more soft passes instead of fewer aggressive passes.

The first thing you should practice is to trim off a straight edge going in the same direction as the grain. Then trim off an edge going against the grain. Feel the difference in the cut and feel how the knife travels.

When cutting in the same direction as the grain, the knife can sometimes travel in the grain line as opposed to against the straightedge. If you’re having difficulty getting a clean line, try to cut at a slight diagonal. Twist the straightedge slightly and feel the difference in the cut.

If the cut is slightly bumpy or furry, you can lightly sand the edge. Hold the piece upright and lightly run the edge over the sandpaper. You can make one or two passes but any more than that and the piece will no longer be straight.

After a cut is made, check the piece against a straightedge or a table. The cut pictured above is too bumpy to sand and I would suggest making another cut.

When cutting with a knife try to keep the knife perpendicular to the wood. We are humans and not machines so it is impossible to be 100% perfect all the time; just try your best. If the knife is tilted, the cut will end up with a beveled edge.


To tape two pieces together, squeeze the seam tight and press the tape down. It is important that the veneer does not overlap. Tiny gaps are fine but overlapping veneer will cause problems.

You can cut rounded edges with scissors. Just like with the knife, try to keep the scissors perpendicular to the wood or it will tear apart the wood.

Once you have the shape you want, lay it on top of the piece you want next to it and tape it down.

Slowly cut around the side. Make sure to keep your knife upright. You can lift a piece of tape, cut under it, and then press the tape back down, making sure the top piece does not move or slide. When in doubt use more tape.

After the piece is cut, leave the small pieces of tape on the front and flip it over and remove the offcut. To tape the seam, press the tape on one side and then pull and stretch the tape over the seam. Stretching the tape will add some tension and pull the seam tight, much like a butterfly bandage. You do not need tape on every inch of the seam but make sure the majority is covered. Then flip back to the front and remove the small pieces of tape.

As you’re working on your layout the back will build up overlapping layers of tape.

Once your layout is complete, cover the entire front with one even layer of tape. Little gaps between the tape are OK but try not to overlap them.

Flip over and peel off the overlapping layers of tape from the back. Be careful not to pull out small fibers.

Have fun with creating the layout! Think about color, grain size, and direction when creating a pattern. Be sure to check out my next blog about the glue-up process.


