
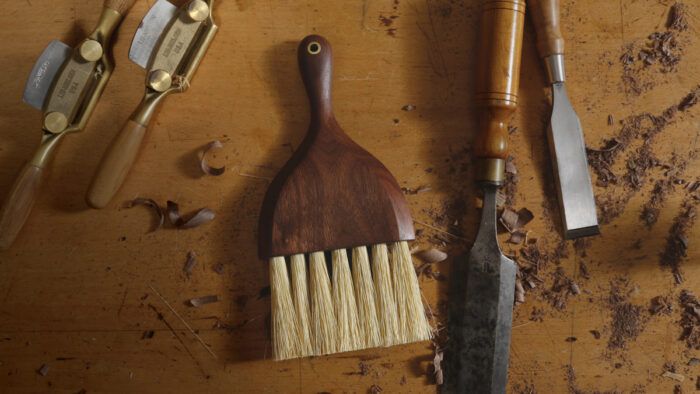
Synopsis: Just because a bench brush is made to tackle a mundane chore (sweeping debris off the bench), that doesn’t mean it has to be boring. Making your own brush allows you to blend functionality with fun designs, and lets you practice your carving skills while you are at it.
Like a good chair or table, a well-made brush is a blend of function and sculpture. Meant to just sweep away some dust or chips, brushes can be very simple. But, they are also a great way to explore new designs while practicing the decorative skills of a furniture maker—complex shaping, inlay, surface carving—but without the time investment of a chair or table. This particular bench brush was inspired by classic cabriole leg proportions, but the same process can be applied to making any brush your heart desires, from a one-off you keep by your bench to a run of experimental brushes you make as the years go on. Regardless of which path you take, simple or experimental, they’ll all keep your bench clean.
Shape the brush’s outline
To get the shape just right, I make half-patterns for laying out the brush’s face, edge, and bristle holes. When making a symmetrical workpiece I almost always opt for a half-pattern oriented across a centerline so opposing sides will match.
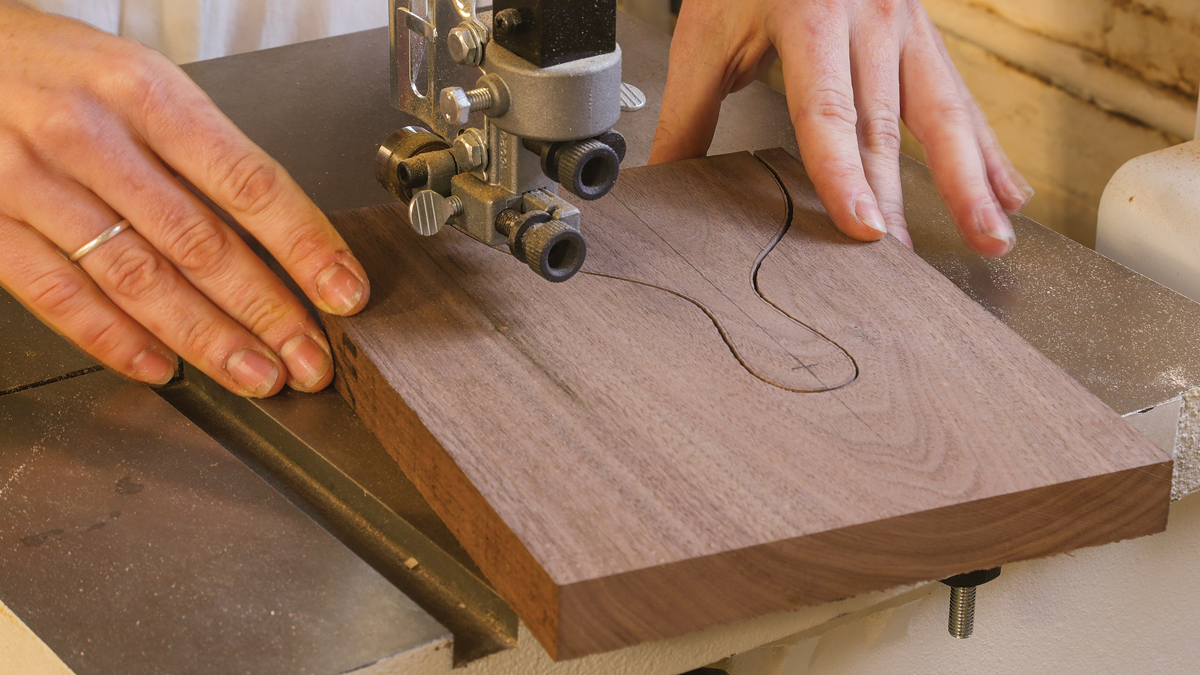
I bandsaw the handle profile, working outside the line to preserve it for the handwork that follows. Spokeshaves and half-round rasps are my favorite tools for fairing curves like these. I usually reach for a spokeshave to fair the brush profile, but a rasp also works if used carefully and at an angle. I often finish with a card scraper, especially around grain changes.
Drilling as considered as joinery
Once I’ve faired the outside profile, I lay out the holes with an awl to give the brad-point bit an assist when it bites into end grain. Brush bristles are installed as bundles, and the holes for them can range from 1⁄4 in. to 1⁄2 in. diameter. For Tampico bundles, like those in this brush, 3⁄8 in. is the Goldilocks diameter. Drilling these holes at least 1 in. deep helps prevent messy squeeze-out, improves the glue joint, and hides the bundles’ rough ends. Drill each bristle hole straight and square to the handle. Otherwise, you’ll get a windswept brush, or worse, the bit could break through the side of the handle. At this point I also drill for the brass tube.
Add contours and chamfers
Once the holes are drilled, you can refine the handle. Start by tracing your edge template on both edges of the brush. In this stage, you’ll remove significant material from the neck of the brush and minimal (or none) from the base and the top. Work across the faces of the handle with a rasp and files until you reach the lines. I consistently use my forefinger and palm to check for even curves.
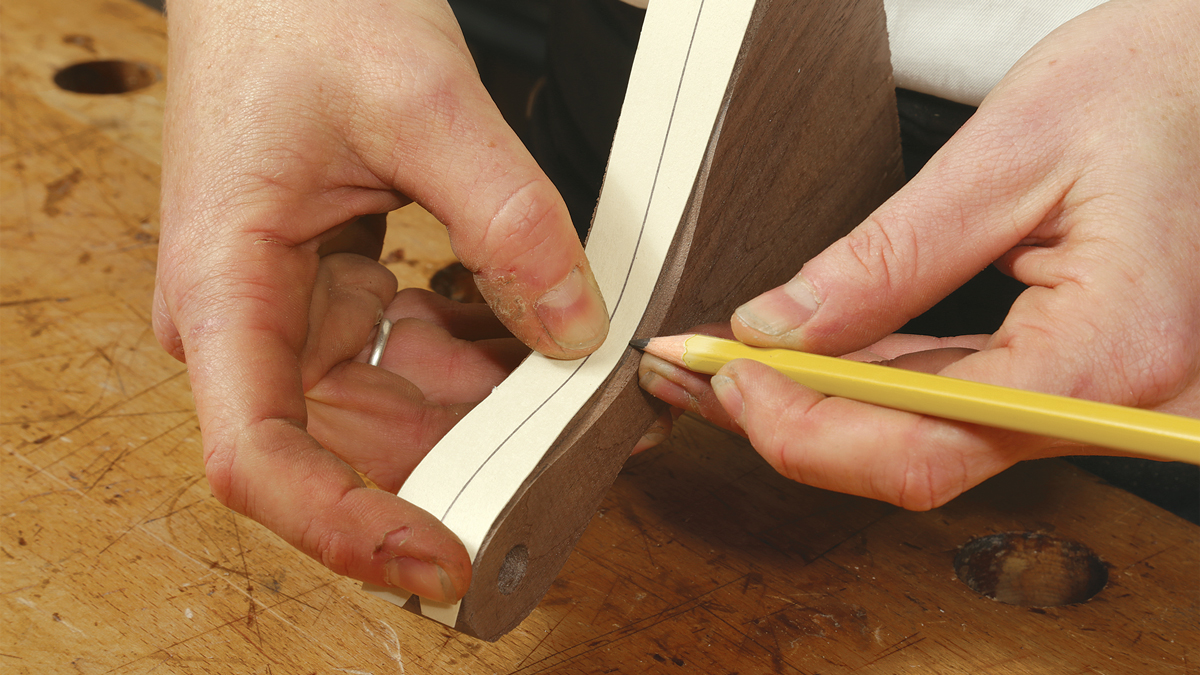
Next, I chamfer the handle. I start by drawing a layout line on each face of the brush. Using a pencil with my fingers as a gauge, I draw a line parallel to the curving edge and inset 3⁄8 in. It goes from the bristle end up one side of the brush, around the top of the handle, and back down the other side. That defines one edge of the chamfer. To establish the other one, I divide the edge of the brush into thirds. I make two tick marks at the base, neck, and top of the handle. Then I connect those marks in an even, flowing line. I shape to those lines using the same tools as before.
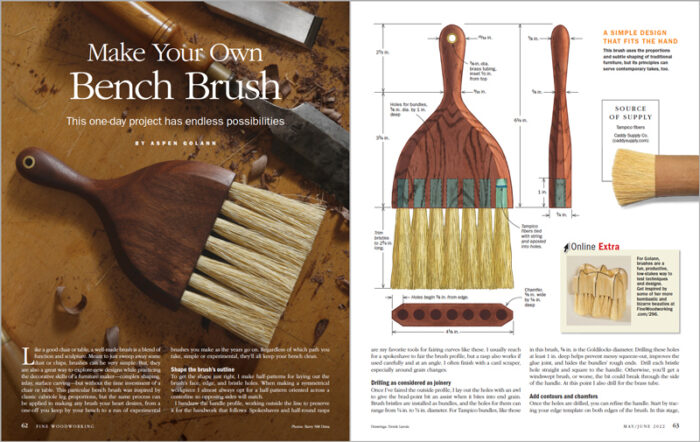 From Fine Woodworking #296
To view the entire article, please click the View PDF button below
Download FREE PDF


