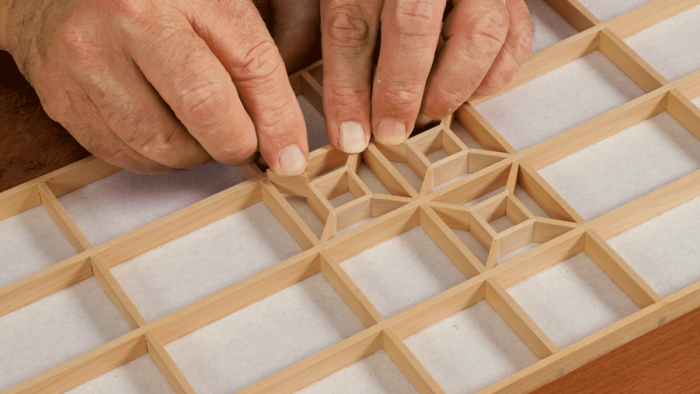
Synopsis: Learn how to put together the traditional kumiko cloverleaf. It works well on shoji screens, as an individual panel or, as it is used here, on an Andon lamp. Craig Vandall Stevens shows how to do it. (Goes with Andon Lamp article in same issue.)
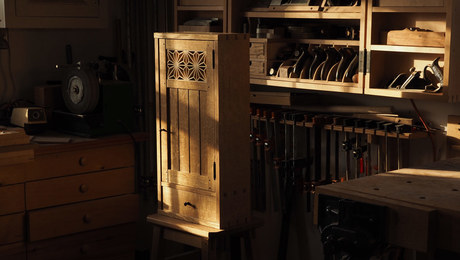
The decorative kumiko pattern I chose for the lamp in this issue (“Build an Andon Lamp”) is called yotsuba kaku-tsugi, which means cloverleaf square-joint. I like its simplicity and the way it reads well as an individual unit but also as a cluster of four.
To keep decorative kumiko from appearing too heavy, I mill the strips slightly thinner than those in the kumiko grid. For this lamp, with its grid of 1⁄8-in.-thick strips, I made the cloverleaf from strips 3⁄32 in. thick. It’s important to note that having the openings in your grid perfectly square and equal in size makes the patternwork much simpler. Otherwise, you’ll find yourself custom-fitting scores of tiny parts—not fun.
I make the central squares of the cloverleaf first. After cutting strips slightly overlong, I miter one end using a handplane and a miter-paring jig. Then I reset the jig’s stop and cut miters on the other end of the strips. I glue up the squares on my bench, using rubber bands to clamp them.
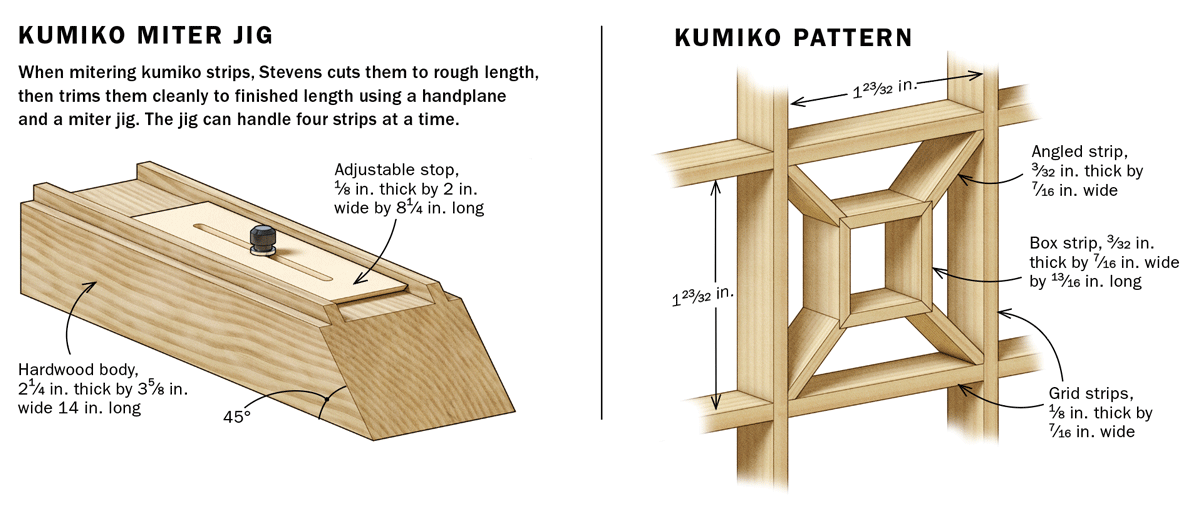
Next, I make the diagonal strips, which have a double miter on one end and an inverted miter, or bird’s mouth, on the other. I first cut a batch of 2-in.-long pieces–enough to yield two diagonal strips.
To cut the bird’s-mouth miters, I use a shopmade jig and a wide chisel that is easy to hold flat on the jaws of the jig. I use a slicing motion, drawing the chisel from side to side and cutting with the chisel’s trailing corner. I make scoring cuts from one side, then move the chisel to the opposite mitered jaw to complete the bird’s mouth.
 From Fine Woodworking #295
To view the entire article, please click the View PDF button below.
More like this
 |
The Quiet Art of Kumiko |
 |
Experiments in Kumiko Woodwork—Part I |
 |
Ep 1: Hanging Wall Cabinet with Mike Pekovich–Intro |
Download FREE PDF

